使用 iTerm 2 的 Shell Integration 优化使用体验

前言⌗
虽然用 iTerm 2 也有一段时间了,开启了 Status bar,但是我发现但我 SSH 到到远端服务器的时候,里面的 Host、User、Current Path 等信息并不能跟着联动。
我一度以为这个功能只能在本机 Shell 中获取到信息,那么既然是这样的话,Host 这些信息还有啥意义,于是我去 Google 上搜了恶意下,为了印证我的猜想。结果发现了 iTerm 2 的 Shell Integration,它就是为了解决这个问题,并且还有一些更人性化的功能。
安装⌗
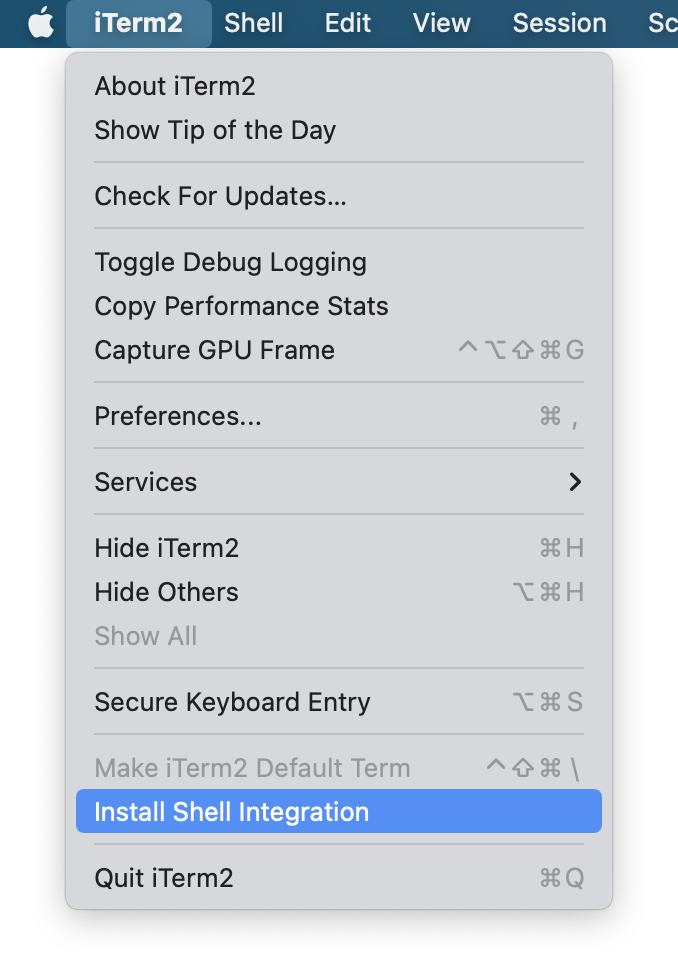
可以按照官方文档 的操作进行安装,也可以通过 iTerm 2 的菜单点击 Install Shell Integration:
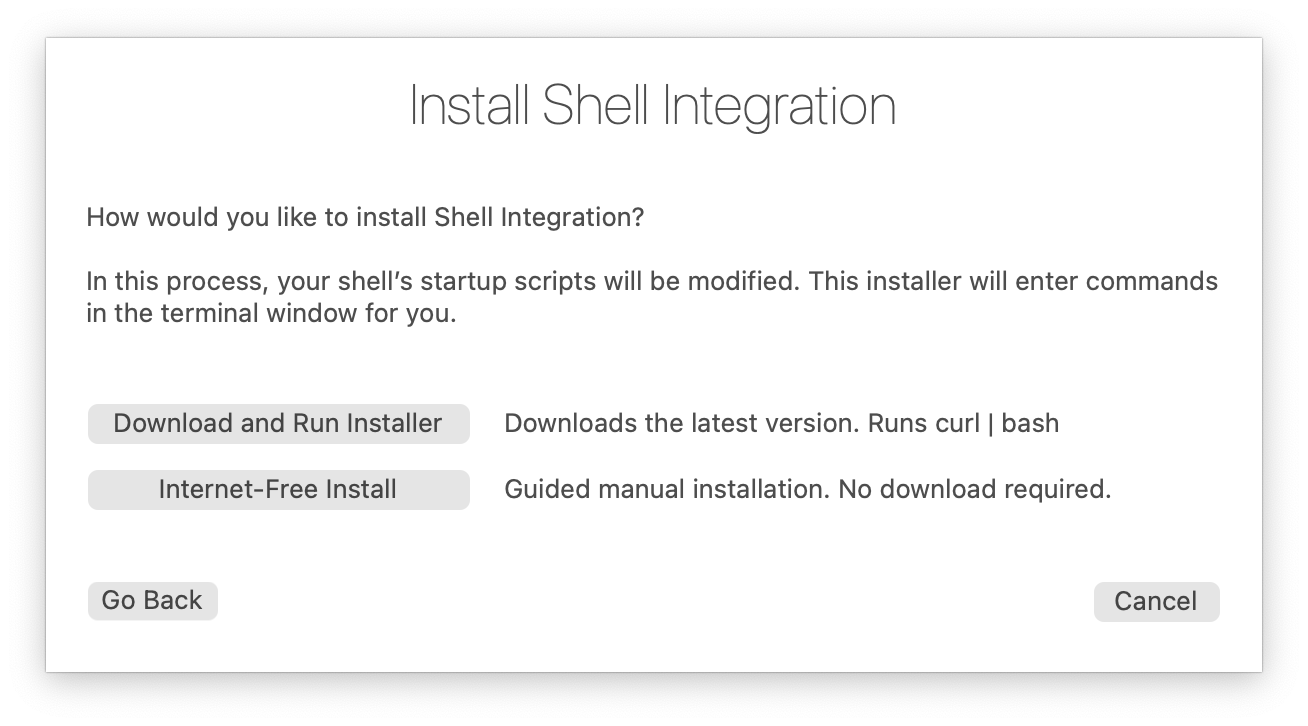
然后弹出安装提示窗口, 默认勾选 Also install iTerm2 Utilities 选项,然后点击 Continue.

点击 Download and Run Installer, 便开始了自动安装:
iTerm 2 将会在当前窗口中执行如下命令:
curl -L https://iterm2.com/shell_integration/install_shell_integration_and_utilities.sh | bash
  % Total    % Received % Xferd  Average Speed   Time    Time     Time  Current
                                 Dload  Upload   Total   Spent    Left  Speed
100  5255  100  5255    0     0   8523      0 --:--:-- --:--:-- --:--:--  8530
Downloading script from https://iterm2.com/shell_integration/zsh and saving it to /root/.iterm2_shell_integration.zsh...
Checking if /root/.zshrc contains iterm2_shell_integration...
Appending source command to /root/.zshrc...
Downloading imgcat...
Downloading imgls...
Downloading it2api...
Downloading it2attention...
Downloading it2check...
Downloading it2copy...
Downloading it2dl...
Downloading it2getvar...
Downloading it2git...
Downloading it2setcolor...
Downloading it2setkeylabel...
Downloading it2tip...
Downloading it2ul...
Downloading it2universion...
Downloading it2profile...
Adding aliases...

--------------------------------------------------------------------------------

Done.
iTerm2 shell integration was installed!

A script was installed to /root/.iterm2_shell_integration.zsh
Utilities were installed to /root/.iterm2. You don't need to modify your PATH because /root/.iterm2_shell_integration.zsh includes aliases for them.

To make it work right now, do:
  source /root/.iterm2_shell_integration.zsh

This line was also added to /root/.zshrc, so the next time you log in it will be loaded automatically.

--------------------------------------------------------------------------------

You will also have these commands:
imgcat filename
  Displays the image inline.
imgls
  Shows a directory listing with image thumbnails.
it2api
  Command-line utility to manipulate iTerm2.
it2attention start|stop|fireworks
  Gets your attention.
it2check
  Checks if the terminal is iTerm2.
it2copy [filename]
  Copies to the pasteboard.
it2dl filename
  Downloads the specified file, saving it in your Downloads folder.
it2setcolor ...
  Changes individual color settings or loads a color preset.
it2setkeylabel ...
  Changes Touch Bar function key labels.
it2tip
  iTerm2 usage tips
it2ul
  Uploads a file.
it2universion
  Sets the current unicode version.
it2profile
  Change iTerm2 session profile on the fly.
需要注意的是,你需要在每一台你希望通过 iTerm 2 登录的系统内安装一次,比如我在我的 macOS 上安装了,同时需要在远端的服务器上也安装。否则在使用 SSH 切换不同服务器时无法同步 Host、User、Current path 等信息。也无法使用上传和下载等功能!
其他功能⌗
从远端下载文件⌗
在远端服务器上使用 ls 命令列出的文件或目录可以通过在文件上点击鼠标右键,再点击 Download with scp from XXX 按钮将指定的文件或目录下载到本地。
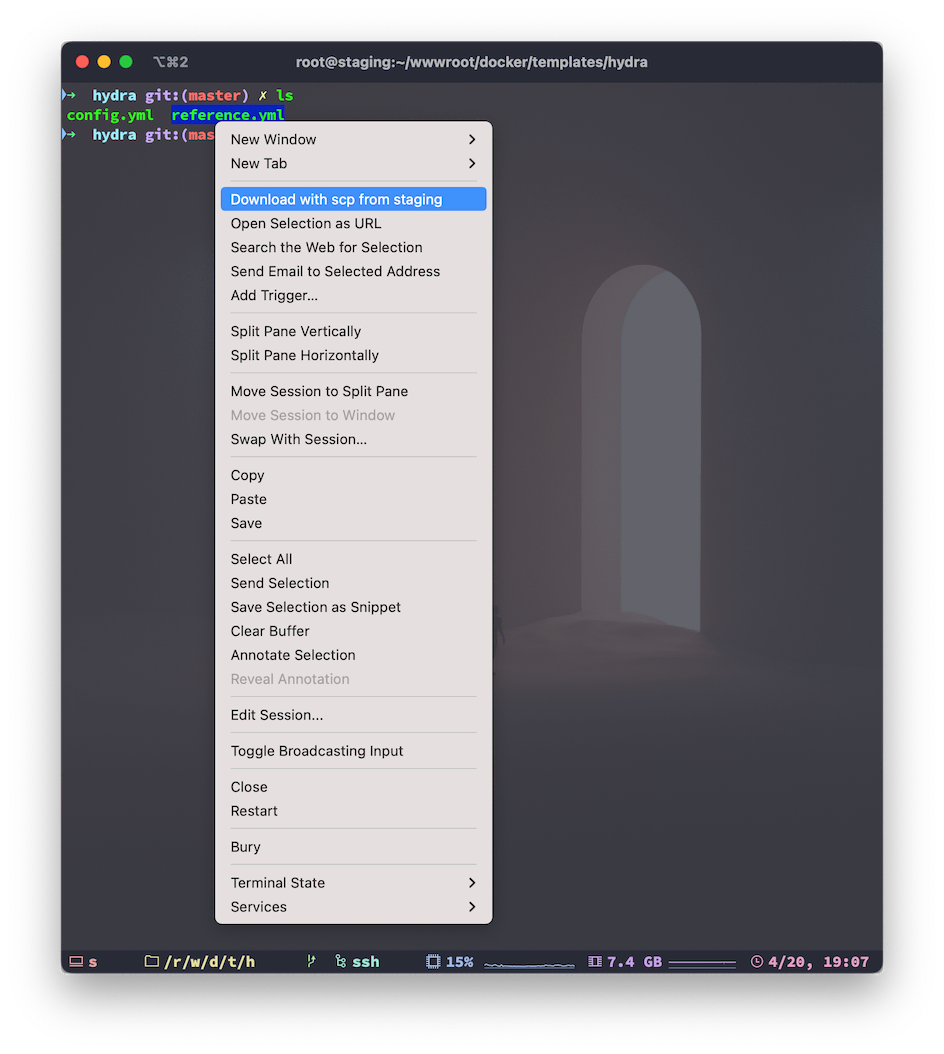
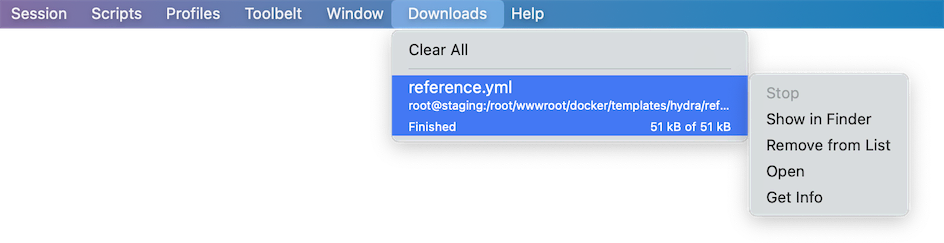
下载的任务可以在 iTerm 2 的 Download 菜单中查看,和管理:
在使用的时候我发现如果使用
ls -la命令列出的文件,鼠标右键点击无法激活Download with scp from XXX按钮,只有ls命令可以,不知道是为啥。
上传文件到远端⌗
如果在 ~/.ssh/config 中配置了远端服务器的认证信息,然后SSH 到远端服务器后,按住 Option 键,将文件拖入 iTerm 2 的窗口中,就会调用 scp 进行上传。上传前记得先 cd 到期望上传的目录中!
除了上的上传与下载还有其他功能,比如远端的命令行历史,最近访问的目录,Toolbelt,Toolbelt 等等… 可以自己参考官方文档进行探索!
注意:Shell Integration 无法支持 tmux 和 screen 等模式。
I hope this is helpful, Happy hacking…