Migrating Blog to Vercel

Introduction⌗
Those who play with blogs probably go through this process: initially setting up their own VPS, then migrating to cloud service providers or OSS, and then adding a CDN.
Originally, my blog was deployed on Upyun OSS in China. I frequently received email reminders saying that my HTTPS certificate application had failed. Additionally, every time GitHub Actions synchronized the built static resources to Upyun OSS, it was extremely time-consuming, which was the most unbearable part for me!
So I decided to migrate my blog to Vercel and use Cloudflare to accelerate the website…
Cloudflare⌗
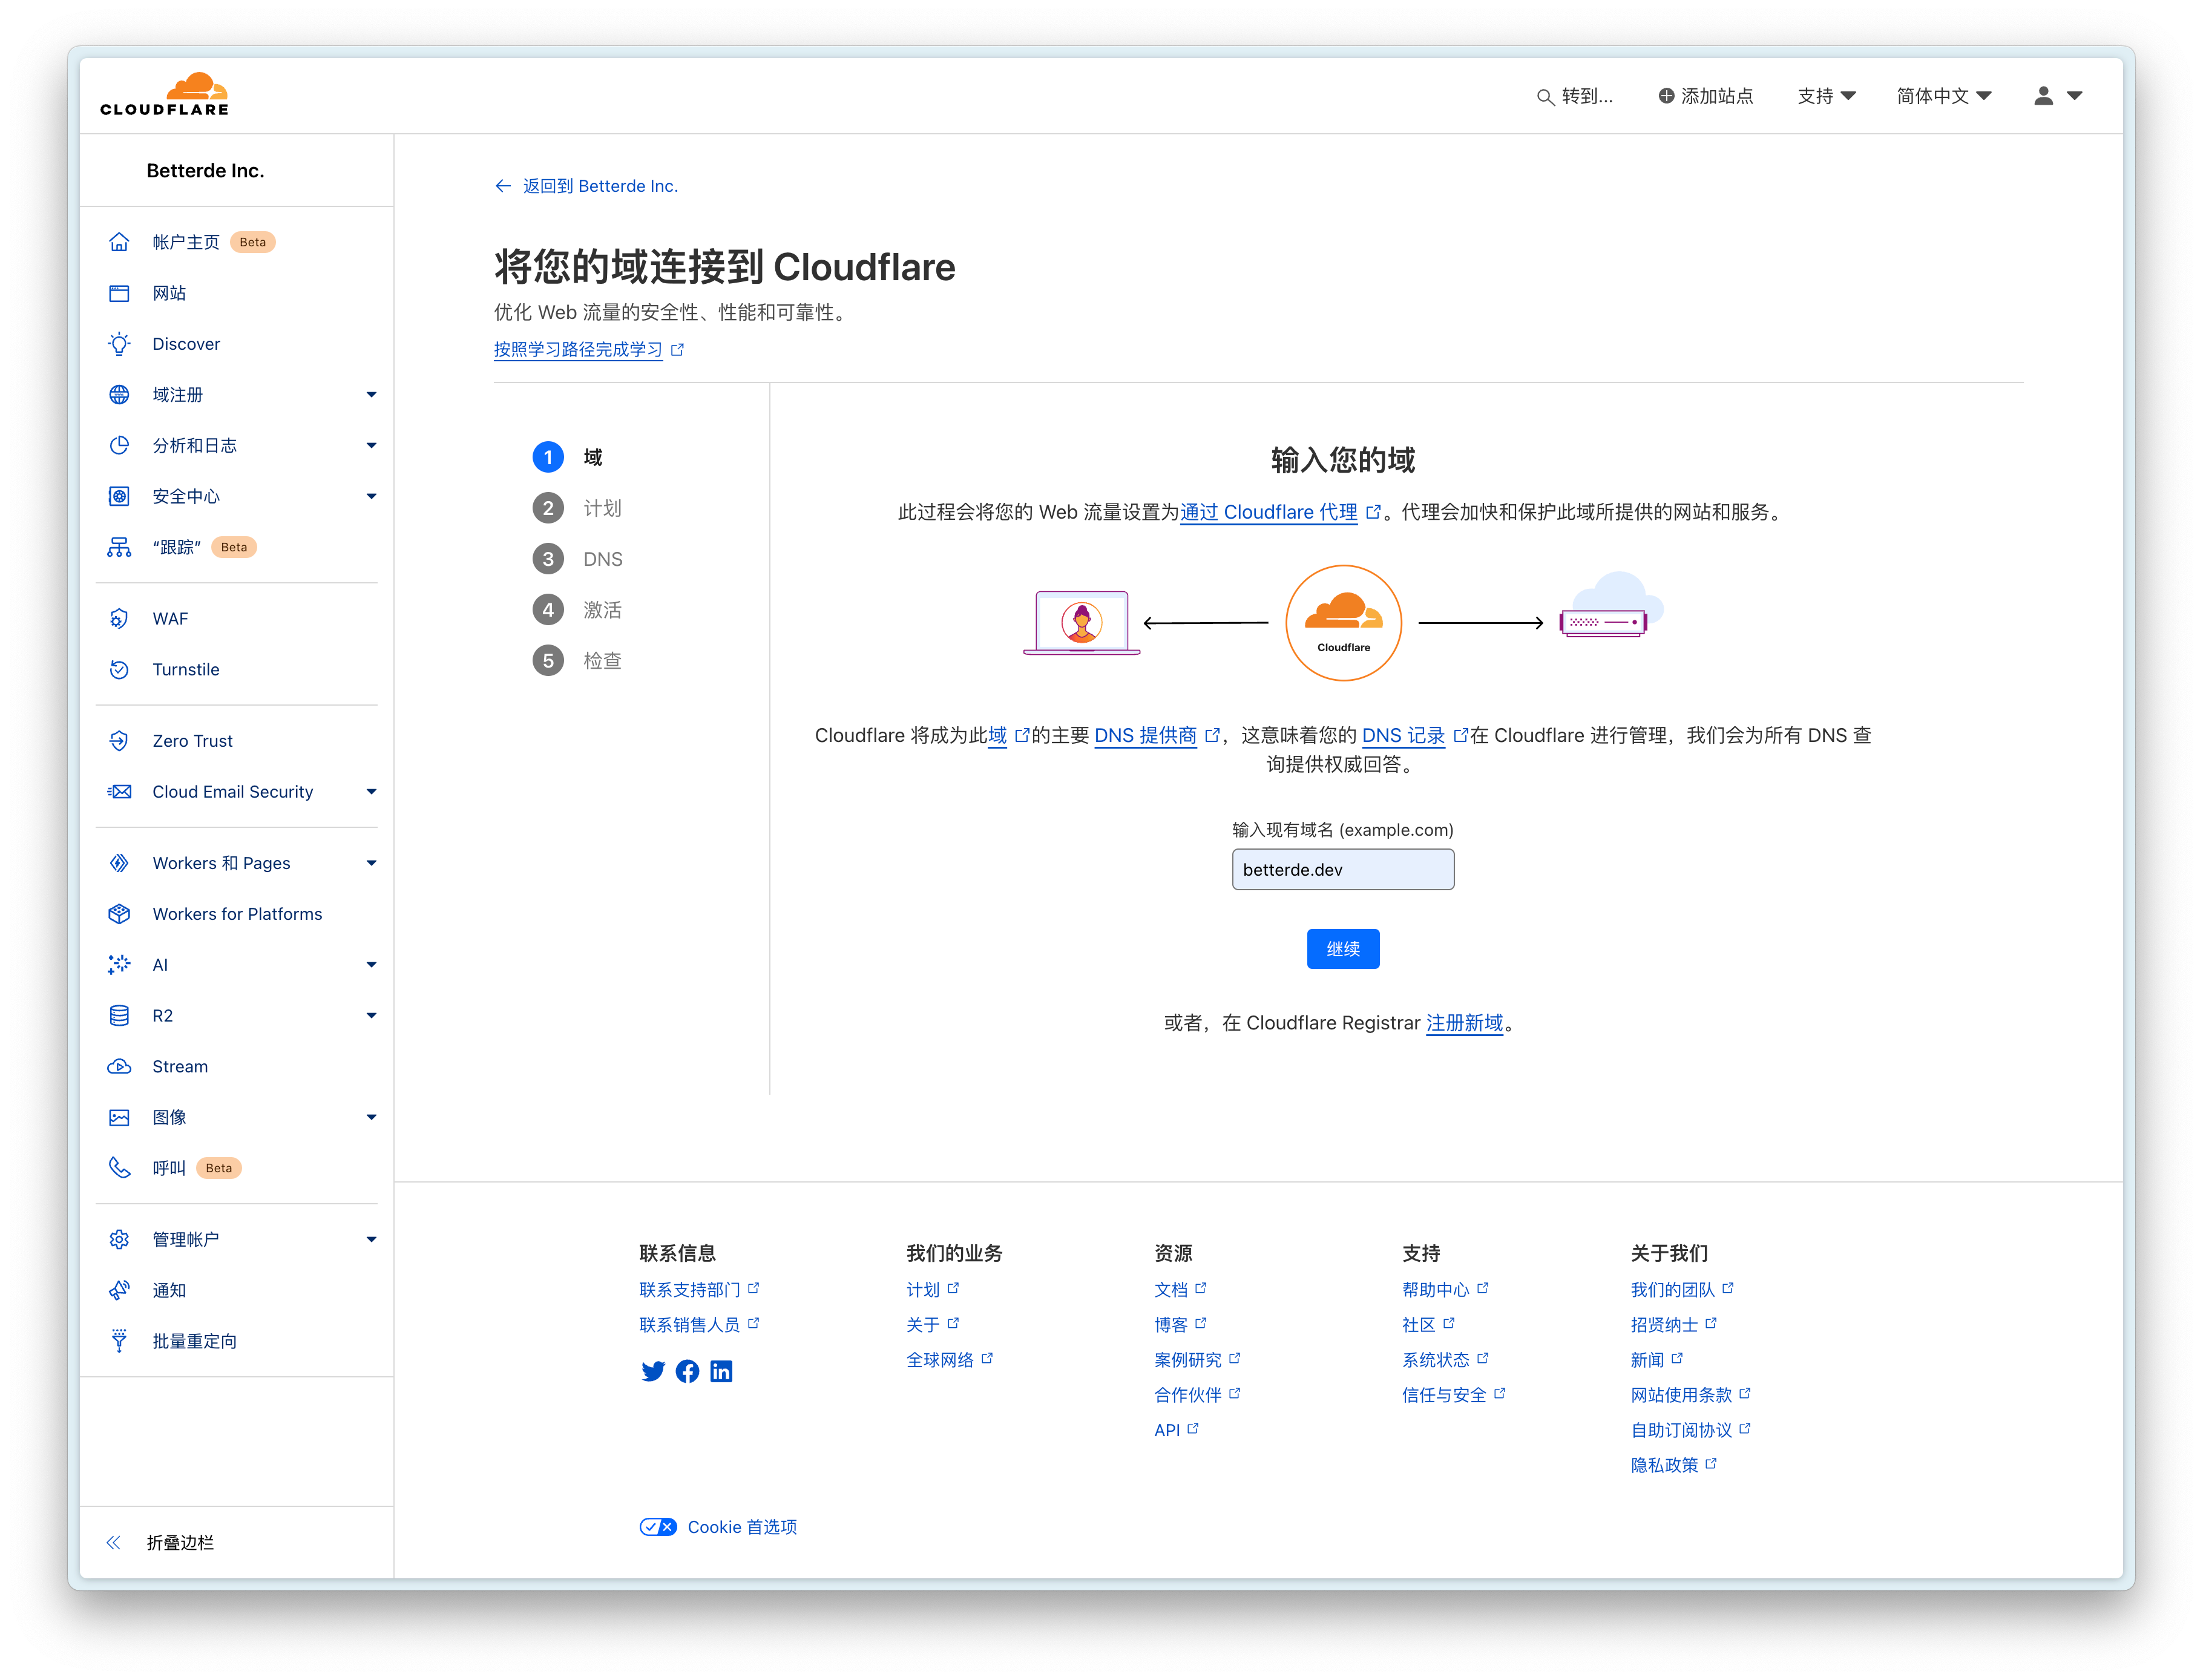
Add domain
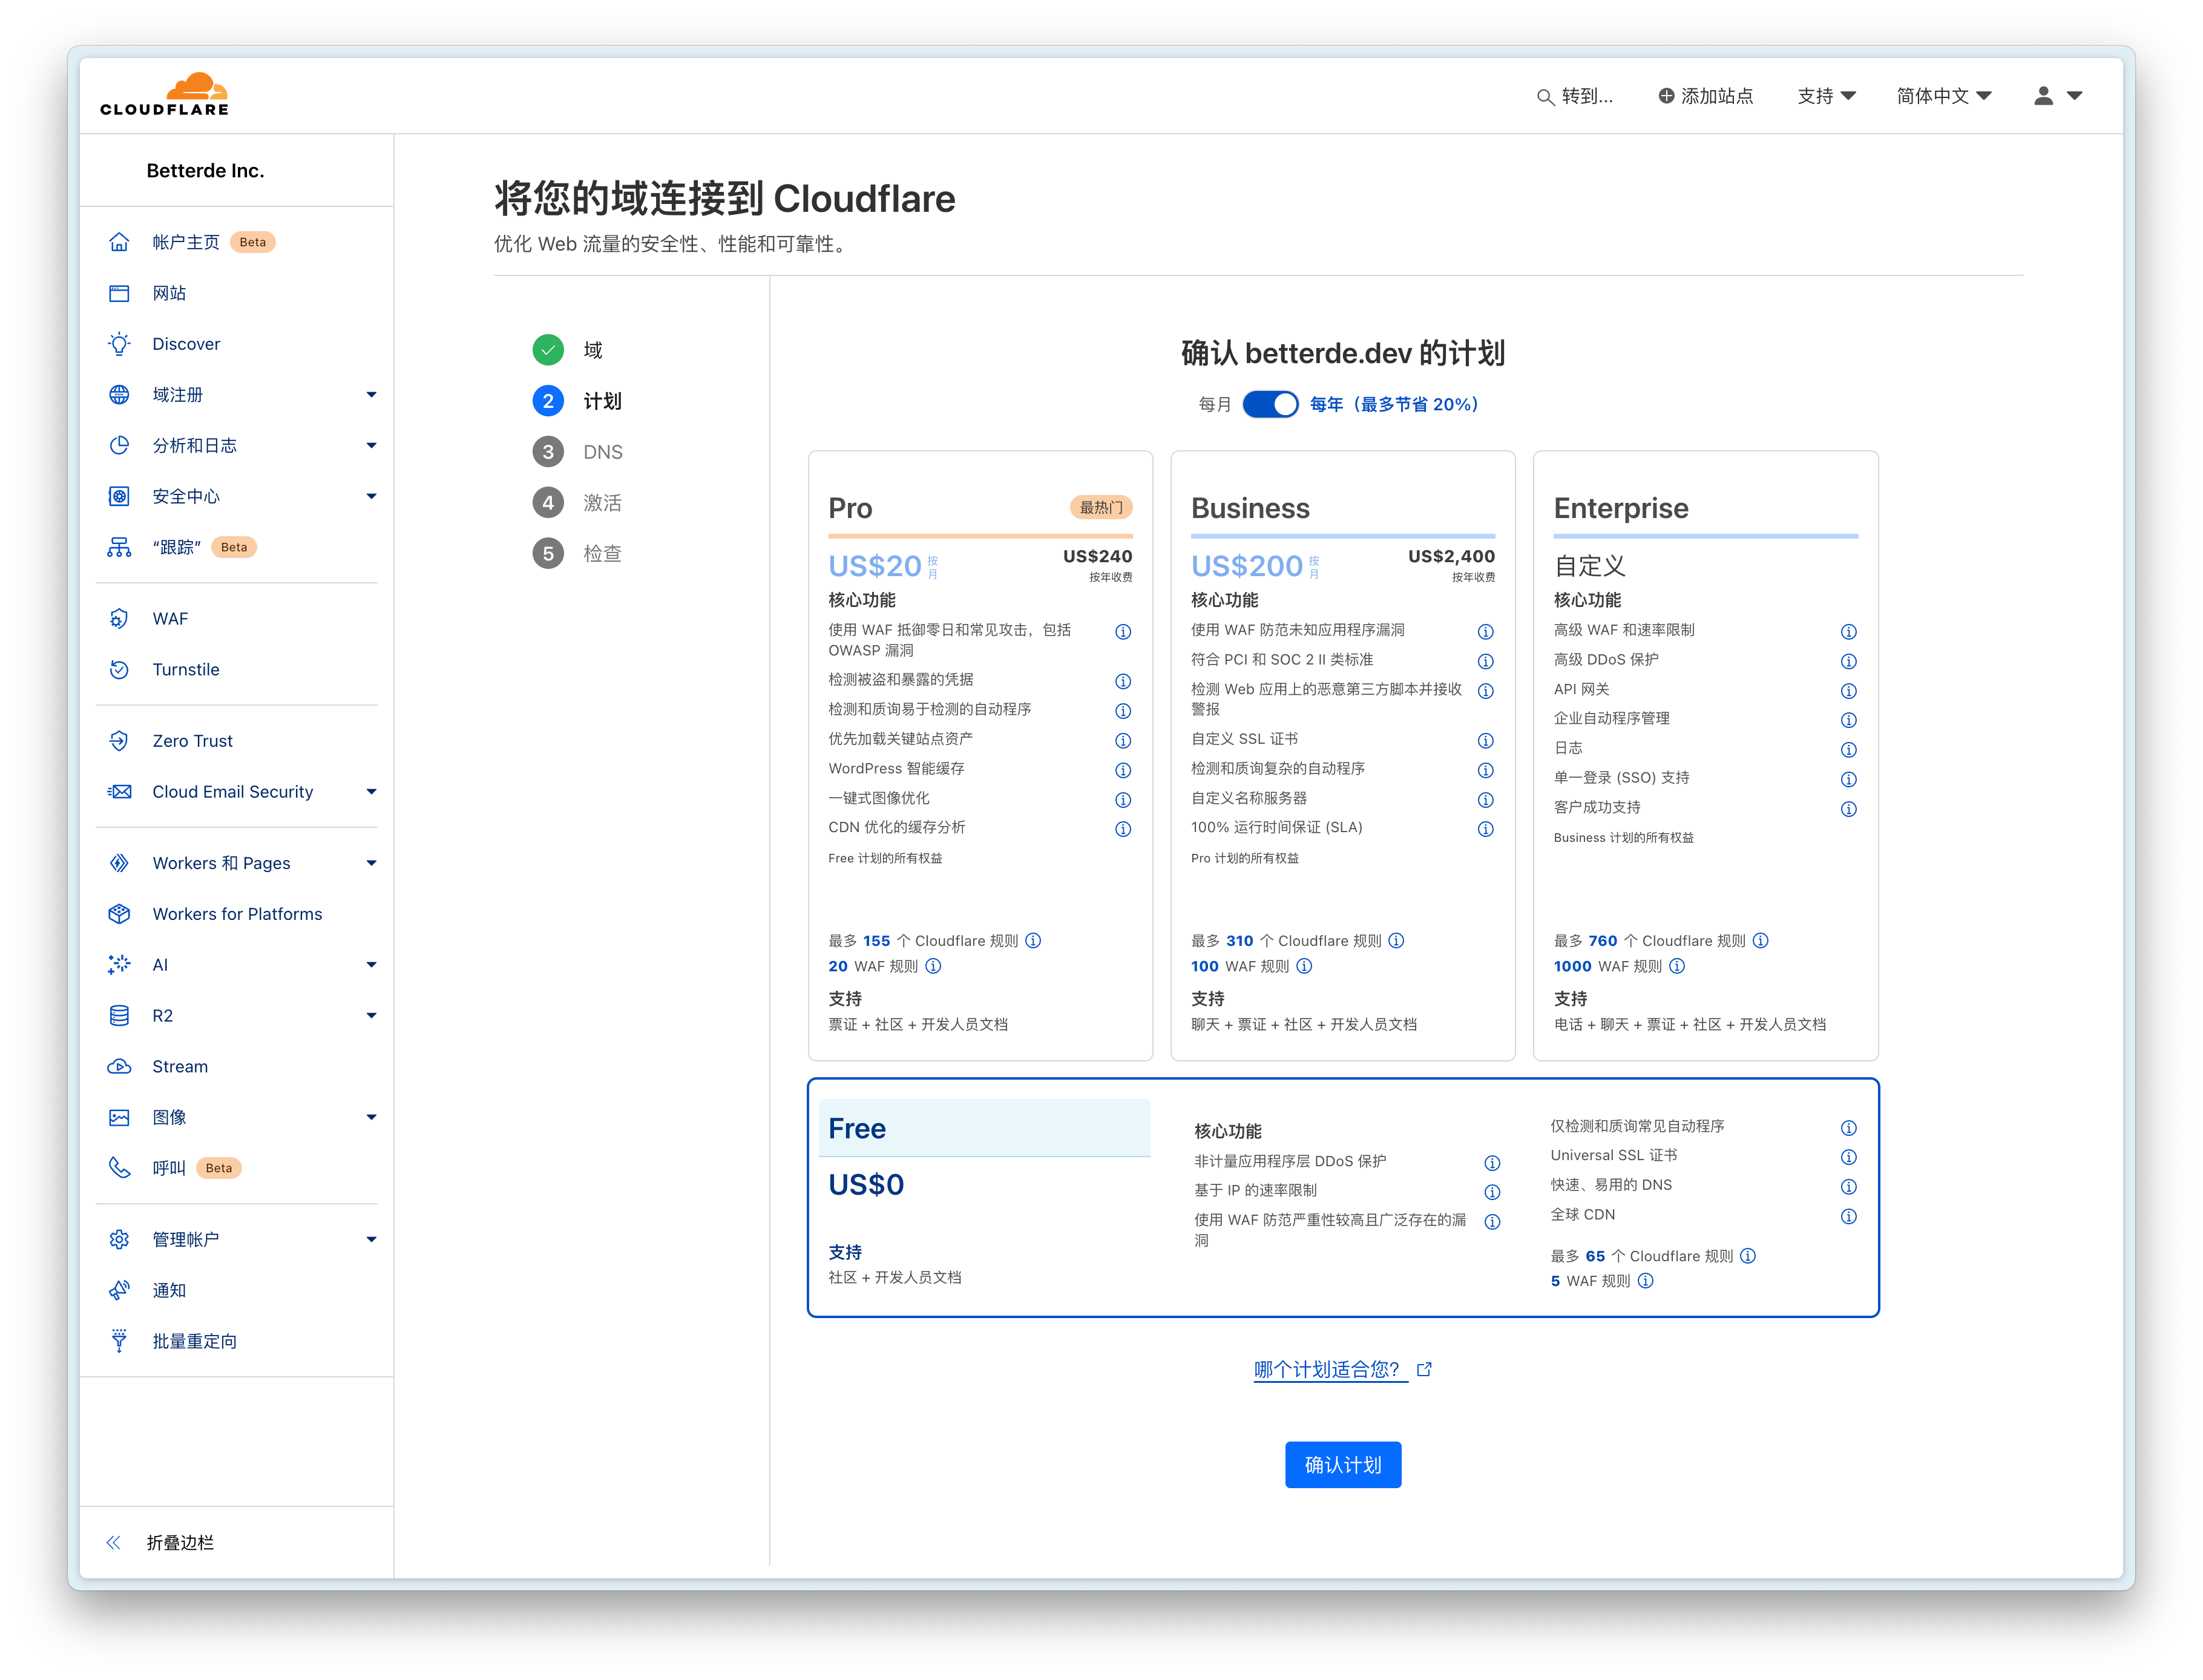
Select payment plan
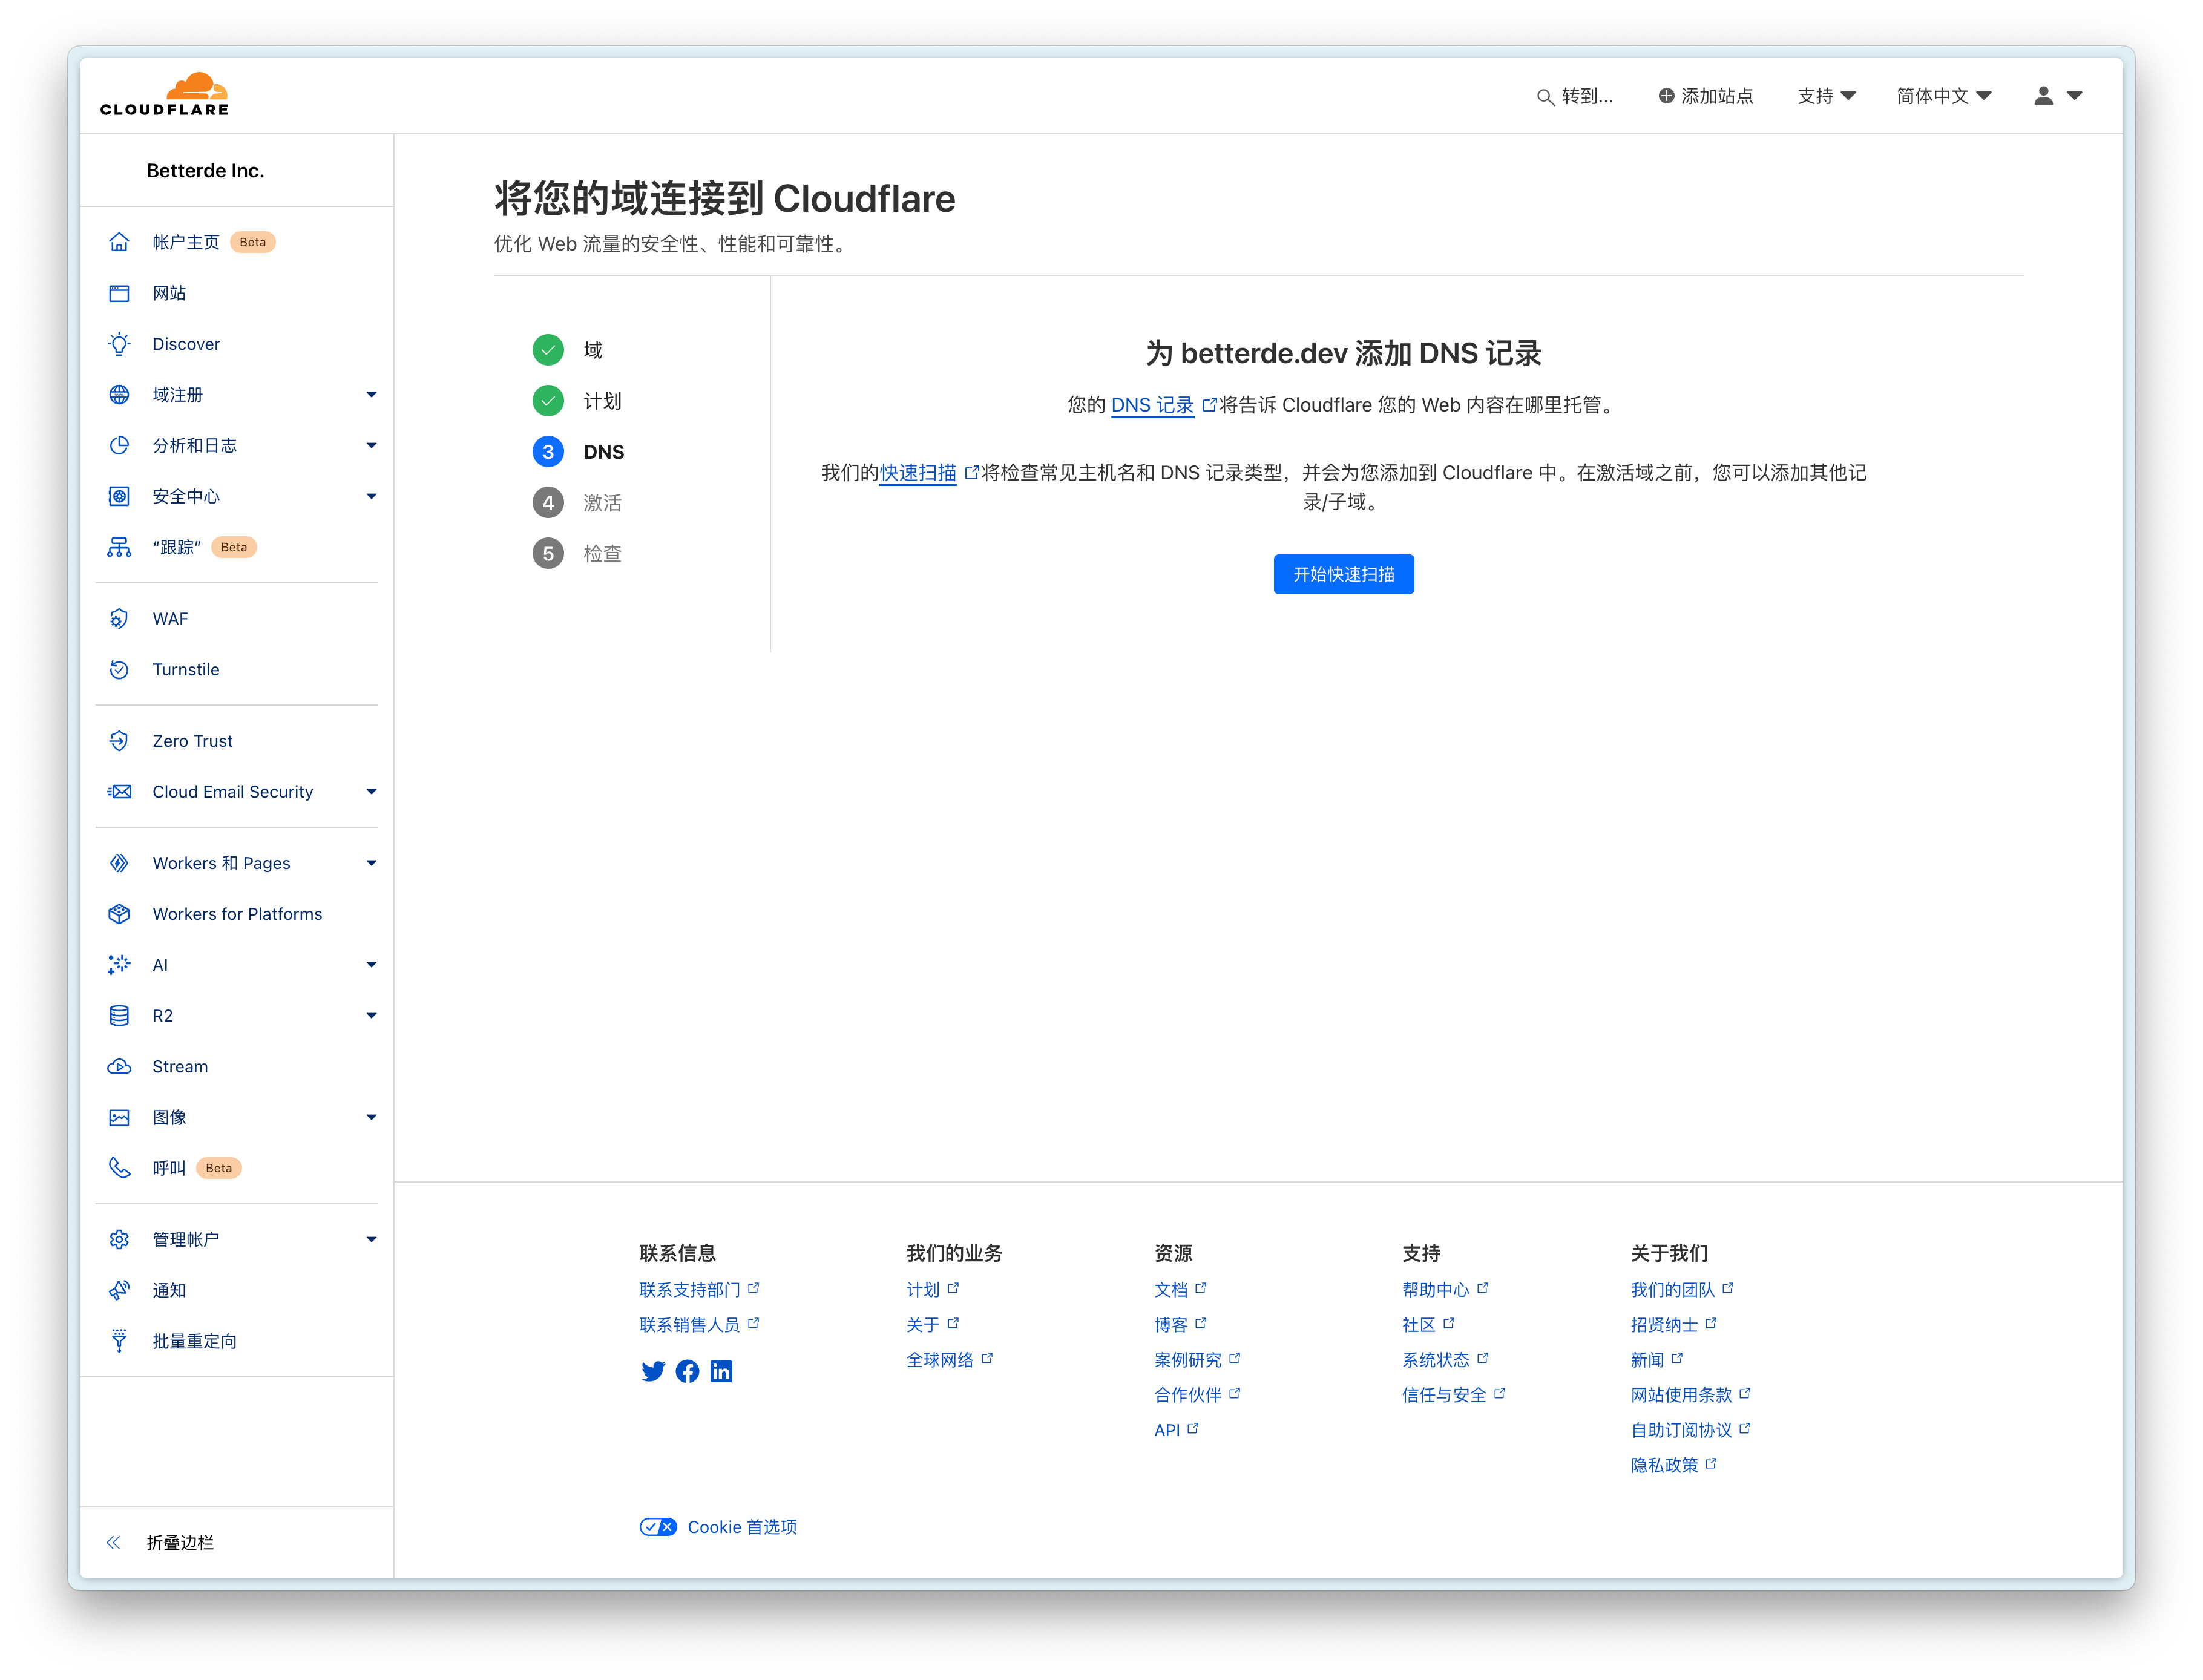
Scan domain settings
Activate domain
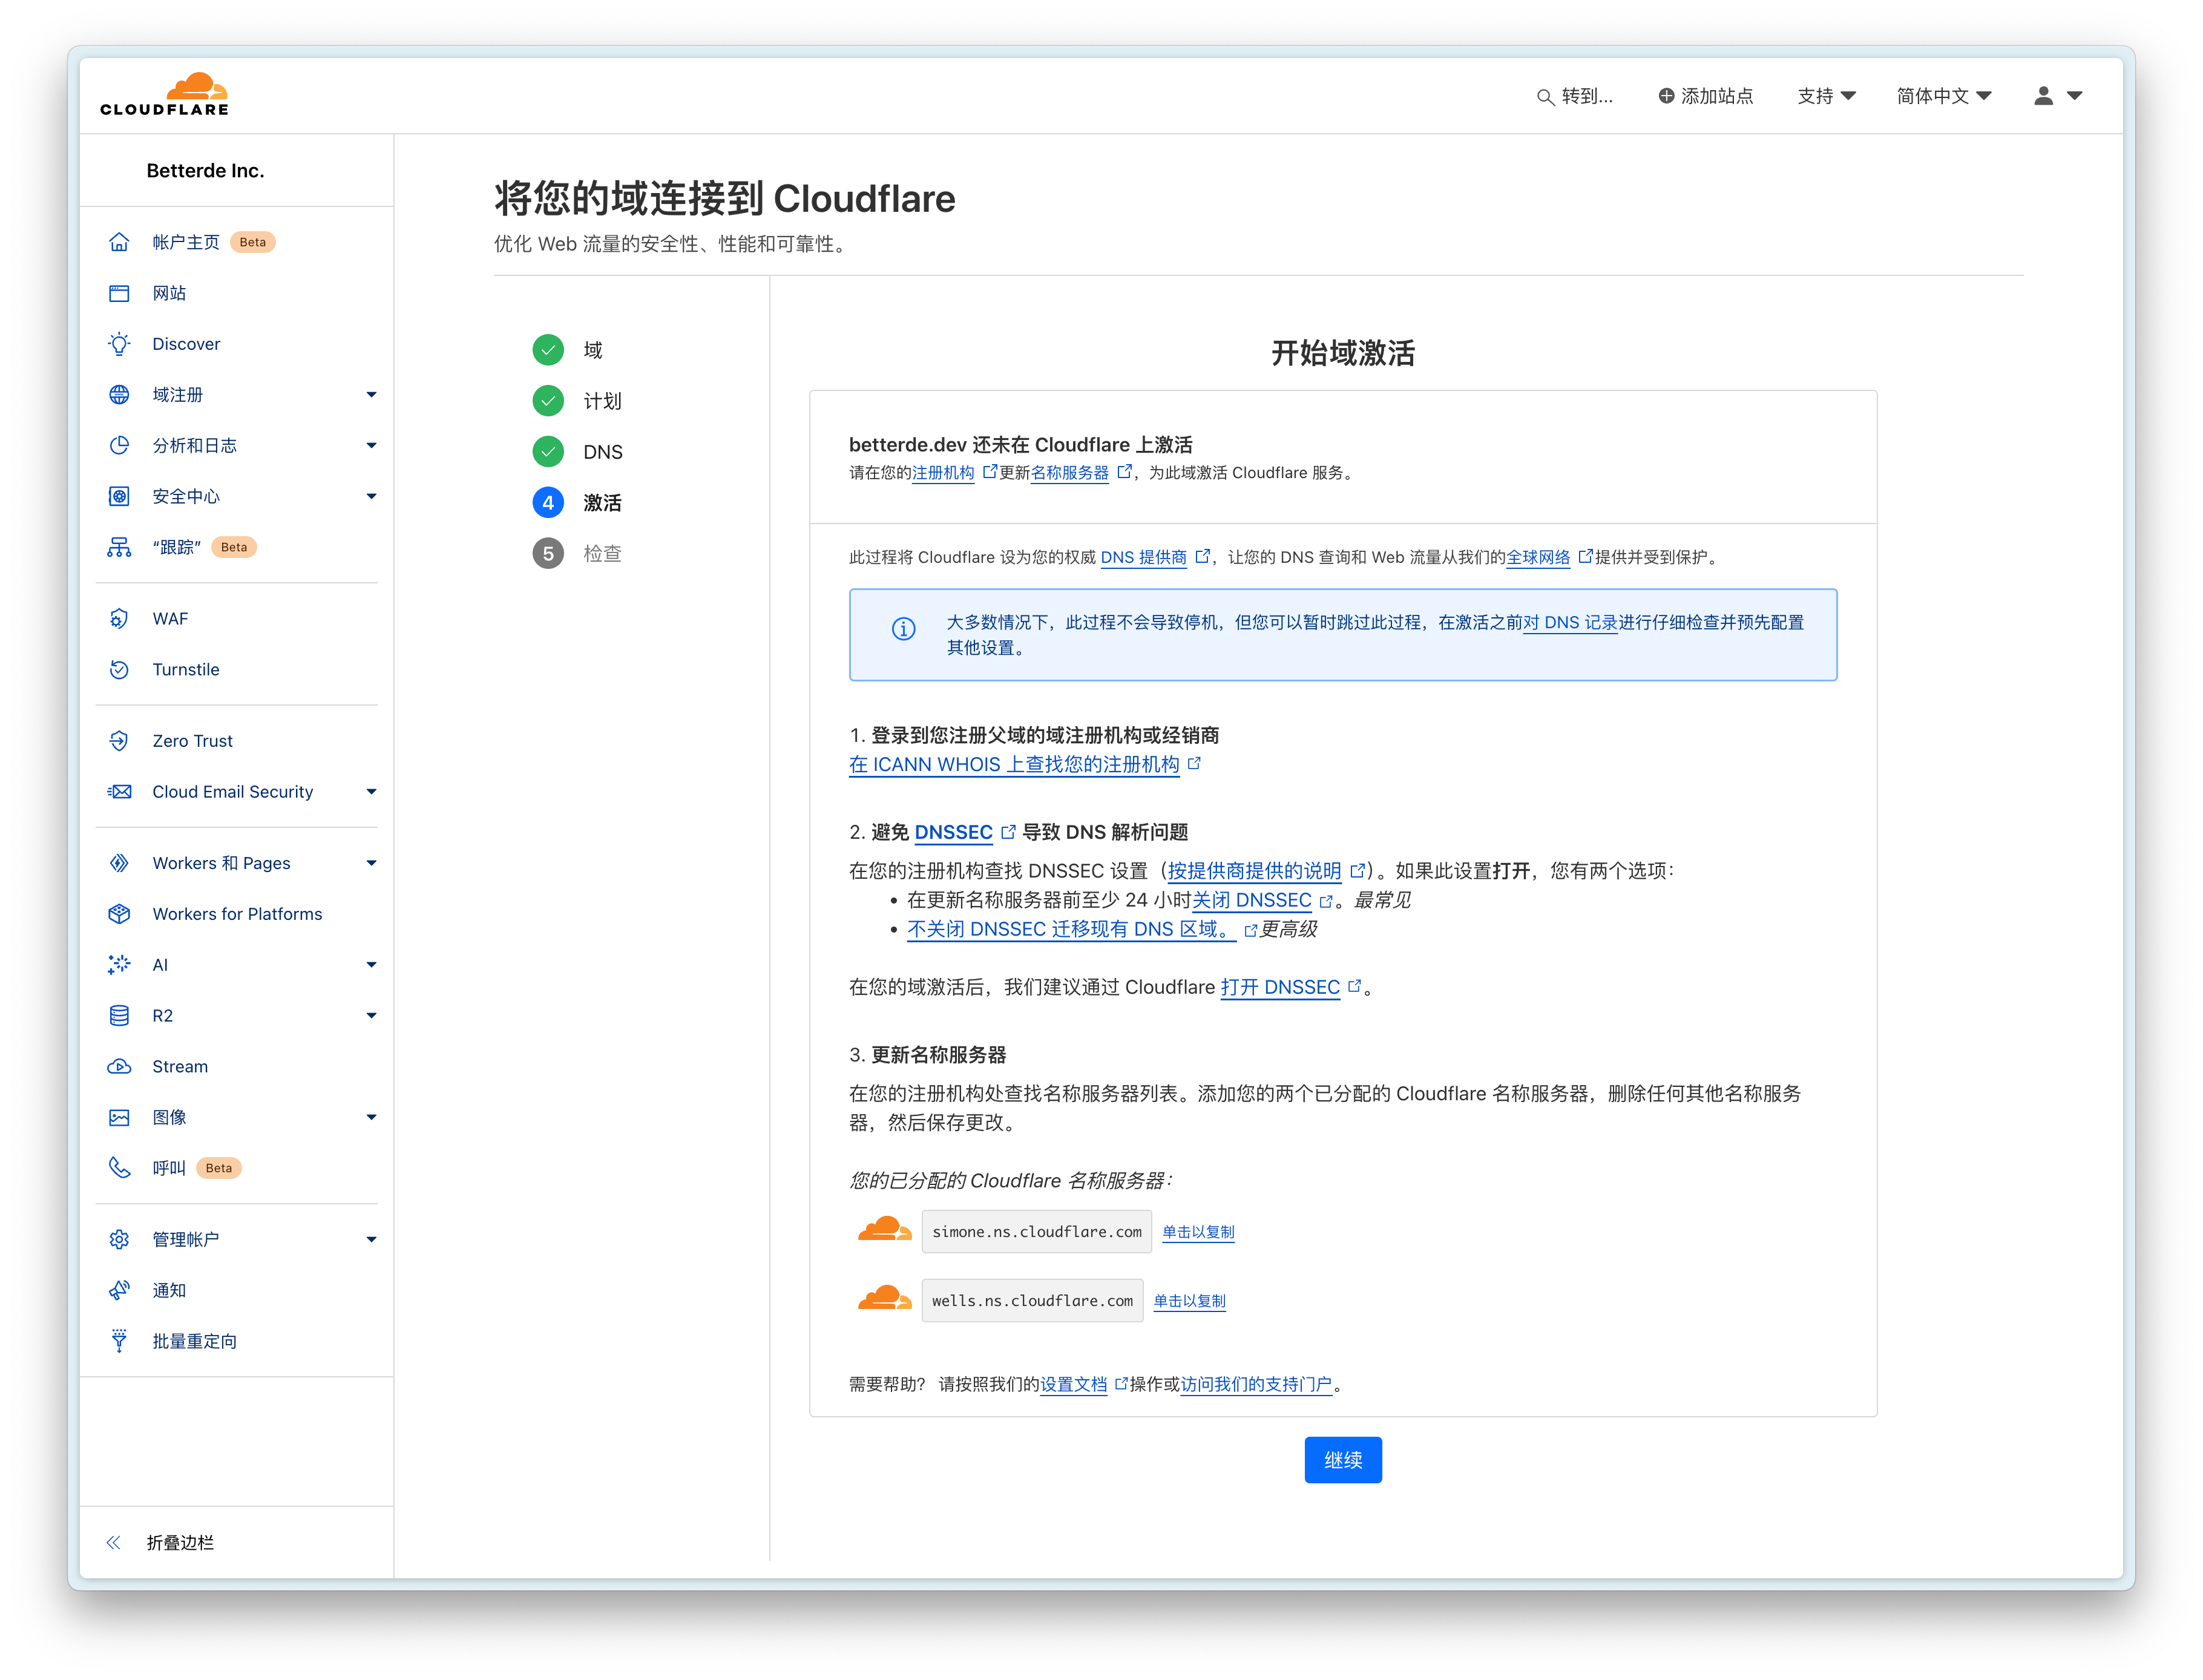
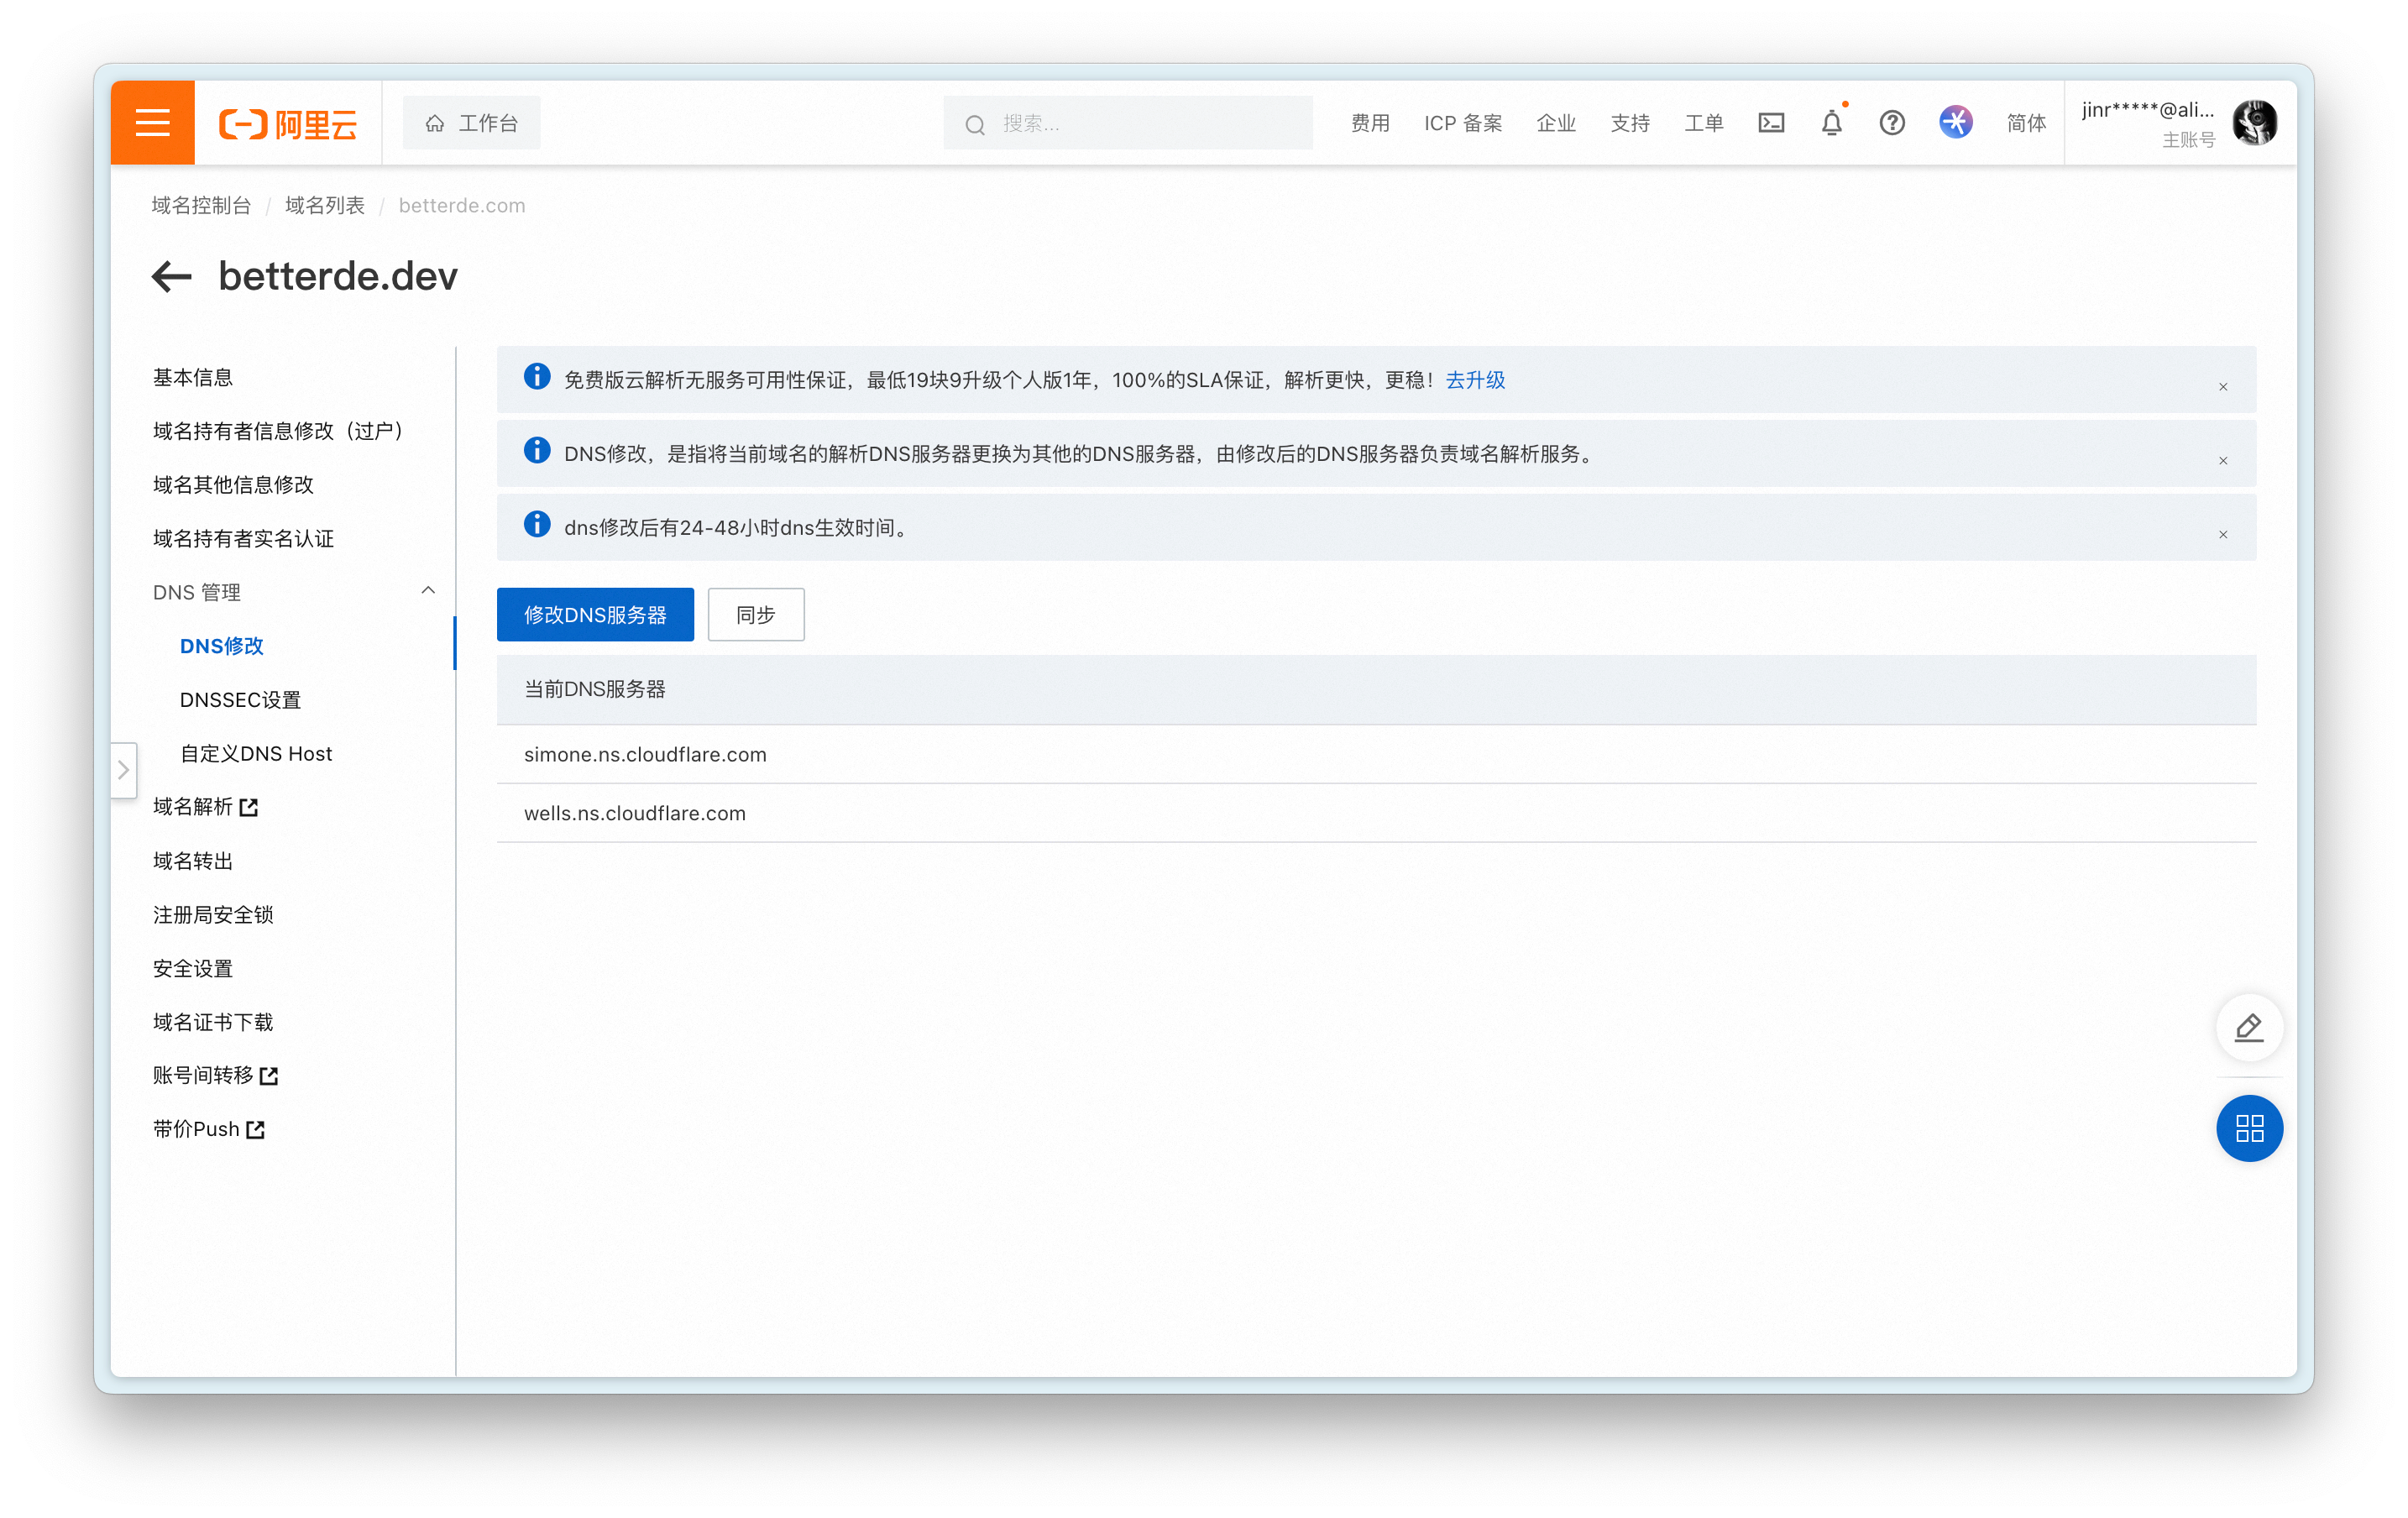
Go to your domain’s cloud service provider and change its DNS to Cloudflare’s DNS. Cloudflare will thoughtfully synchronize existing resolution records.
- Wait for activation
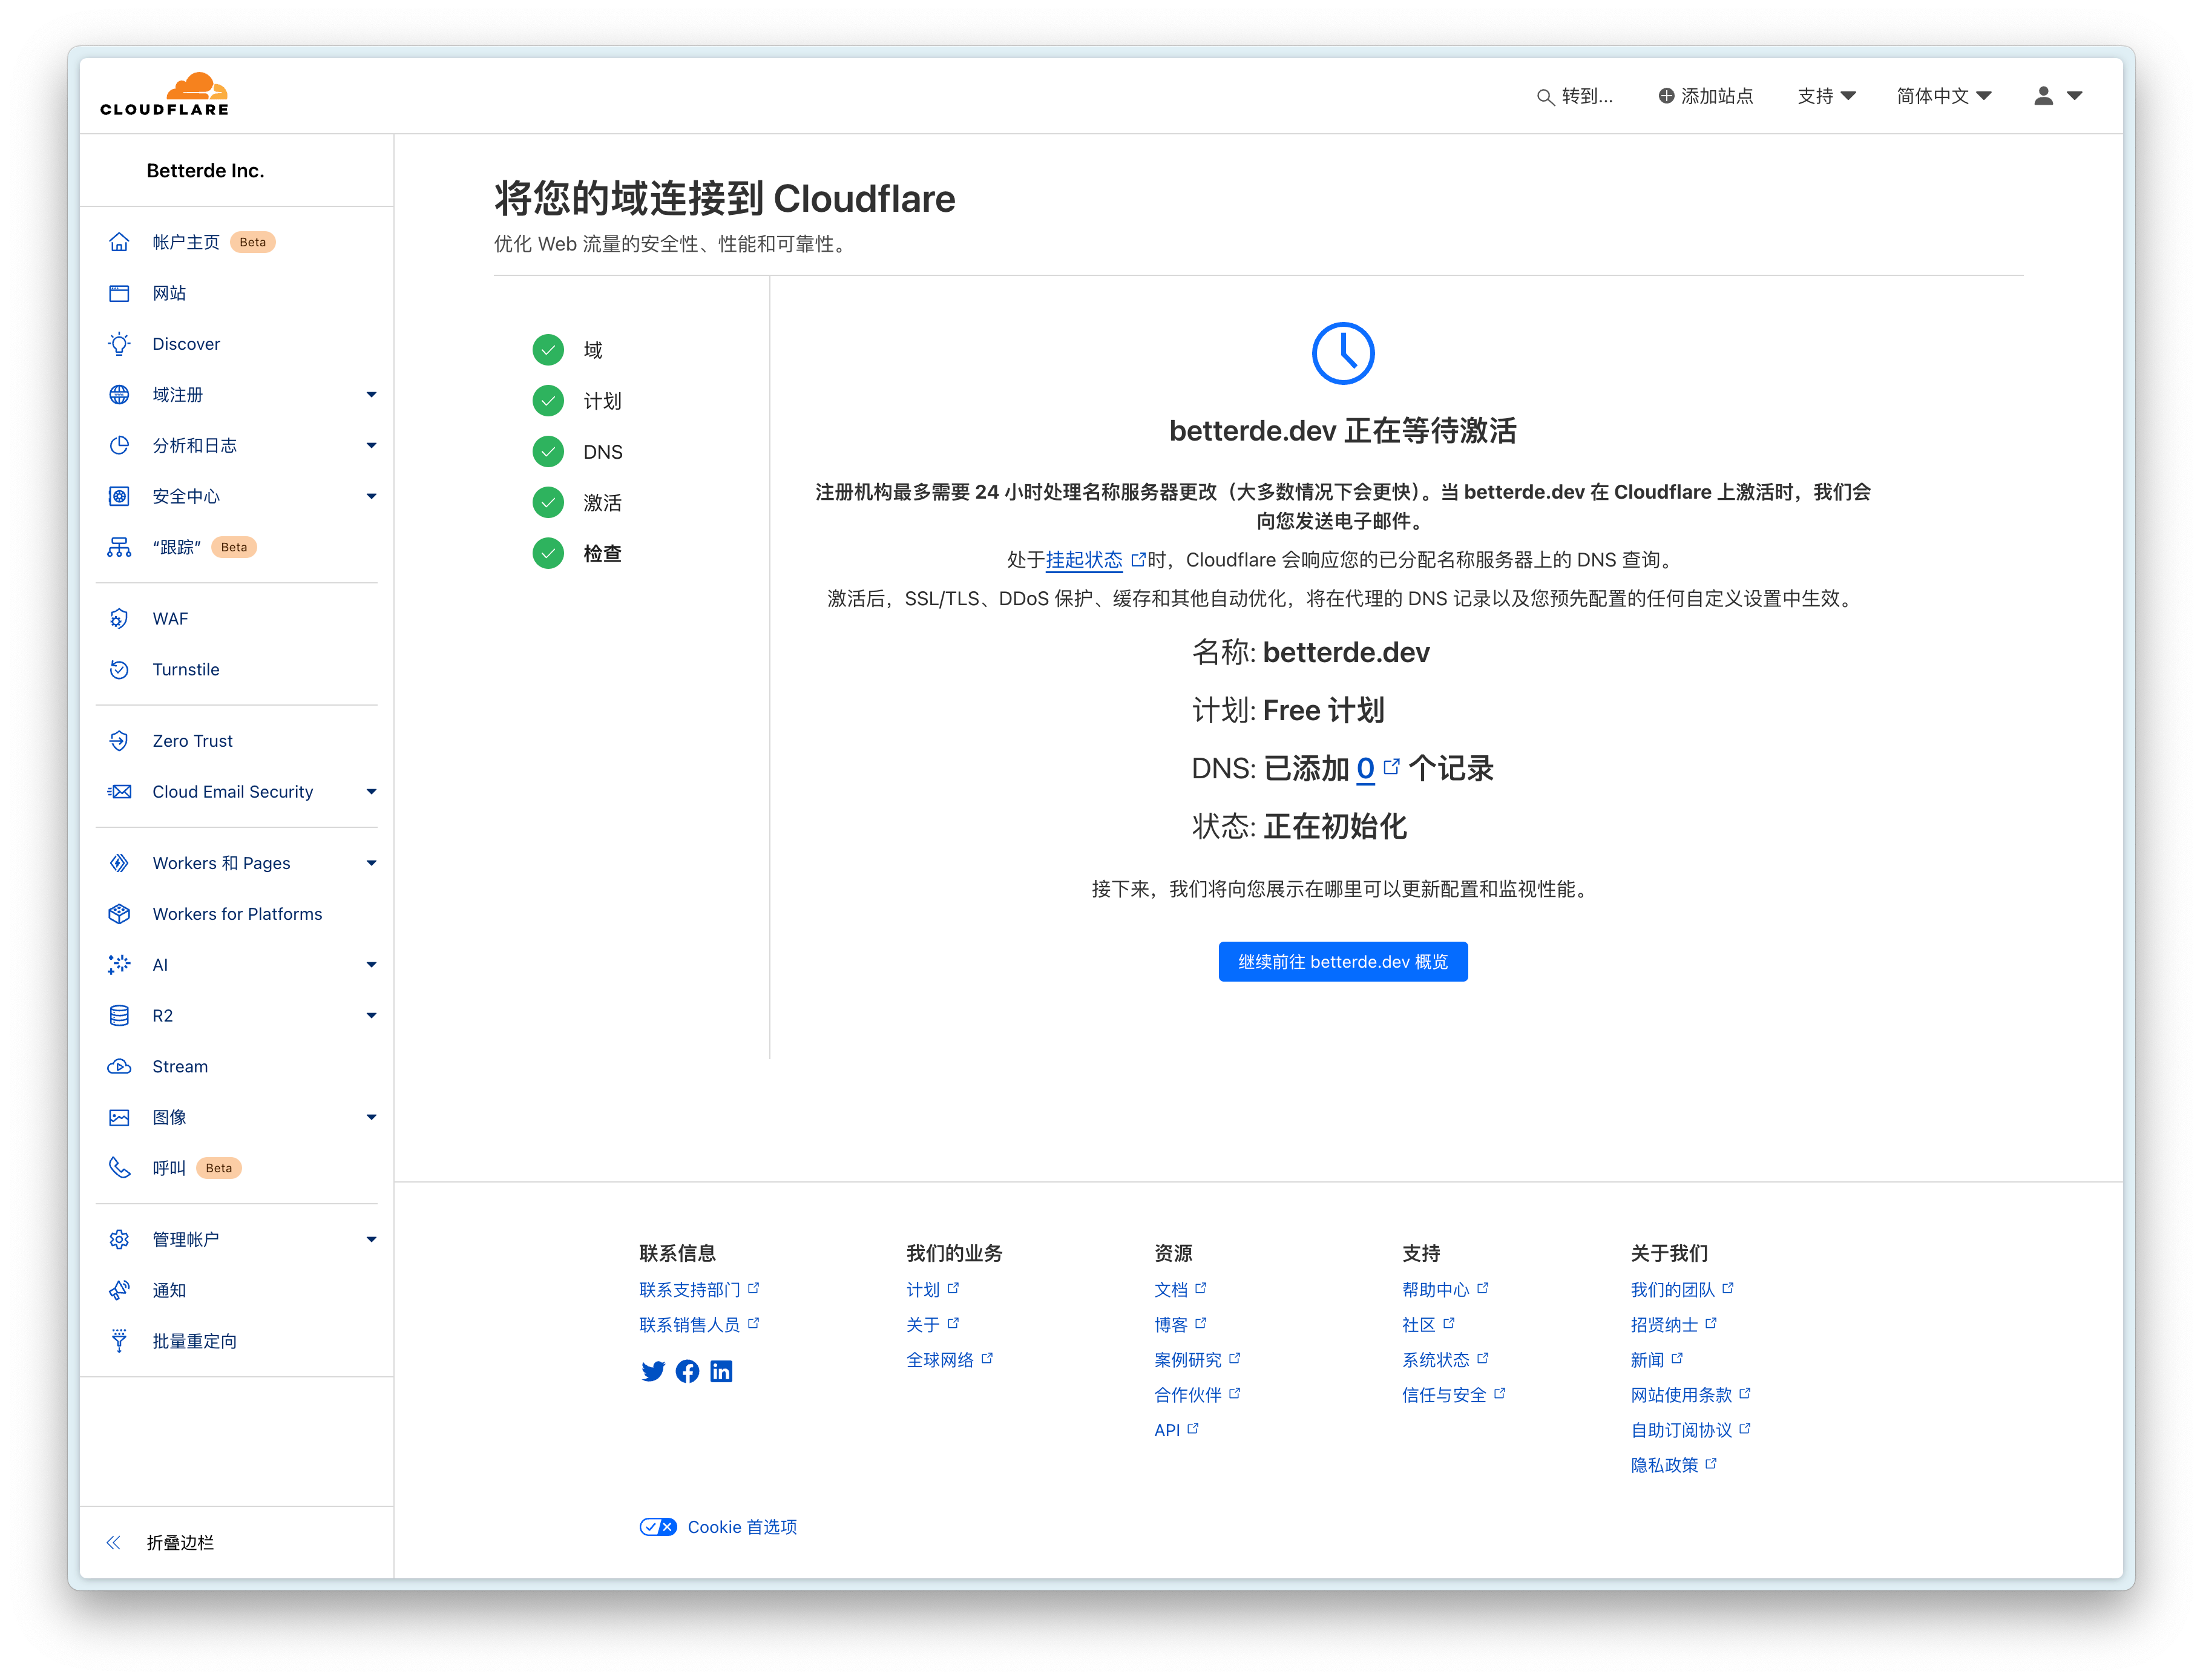
Domain Settings⌗
Vercel⌗
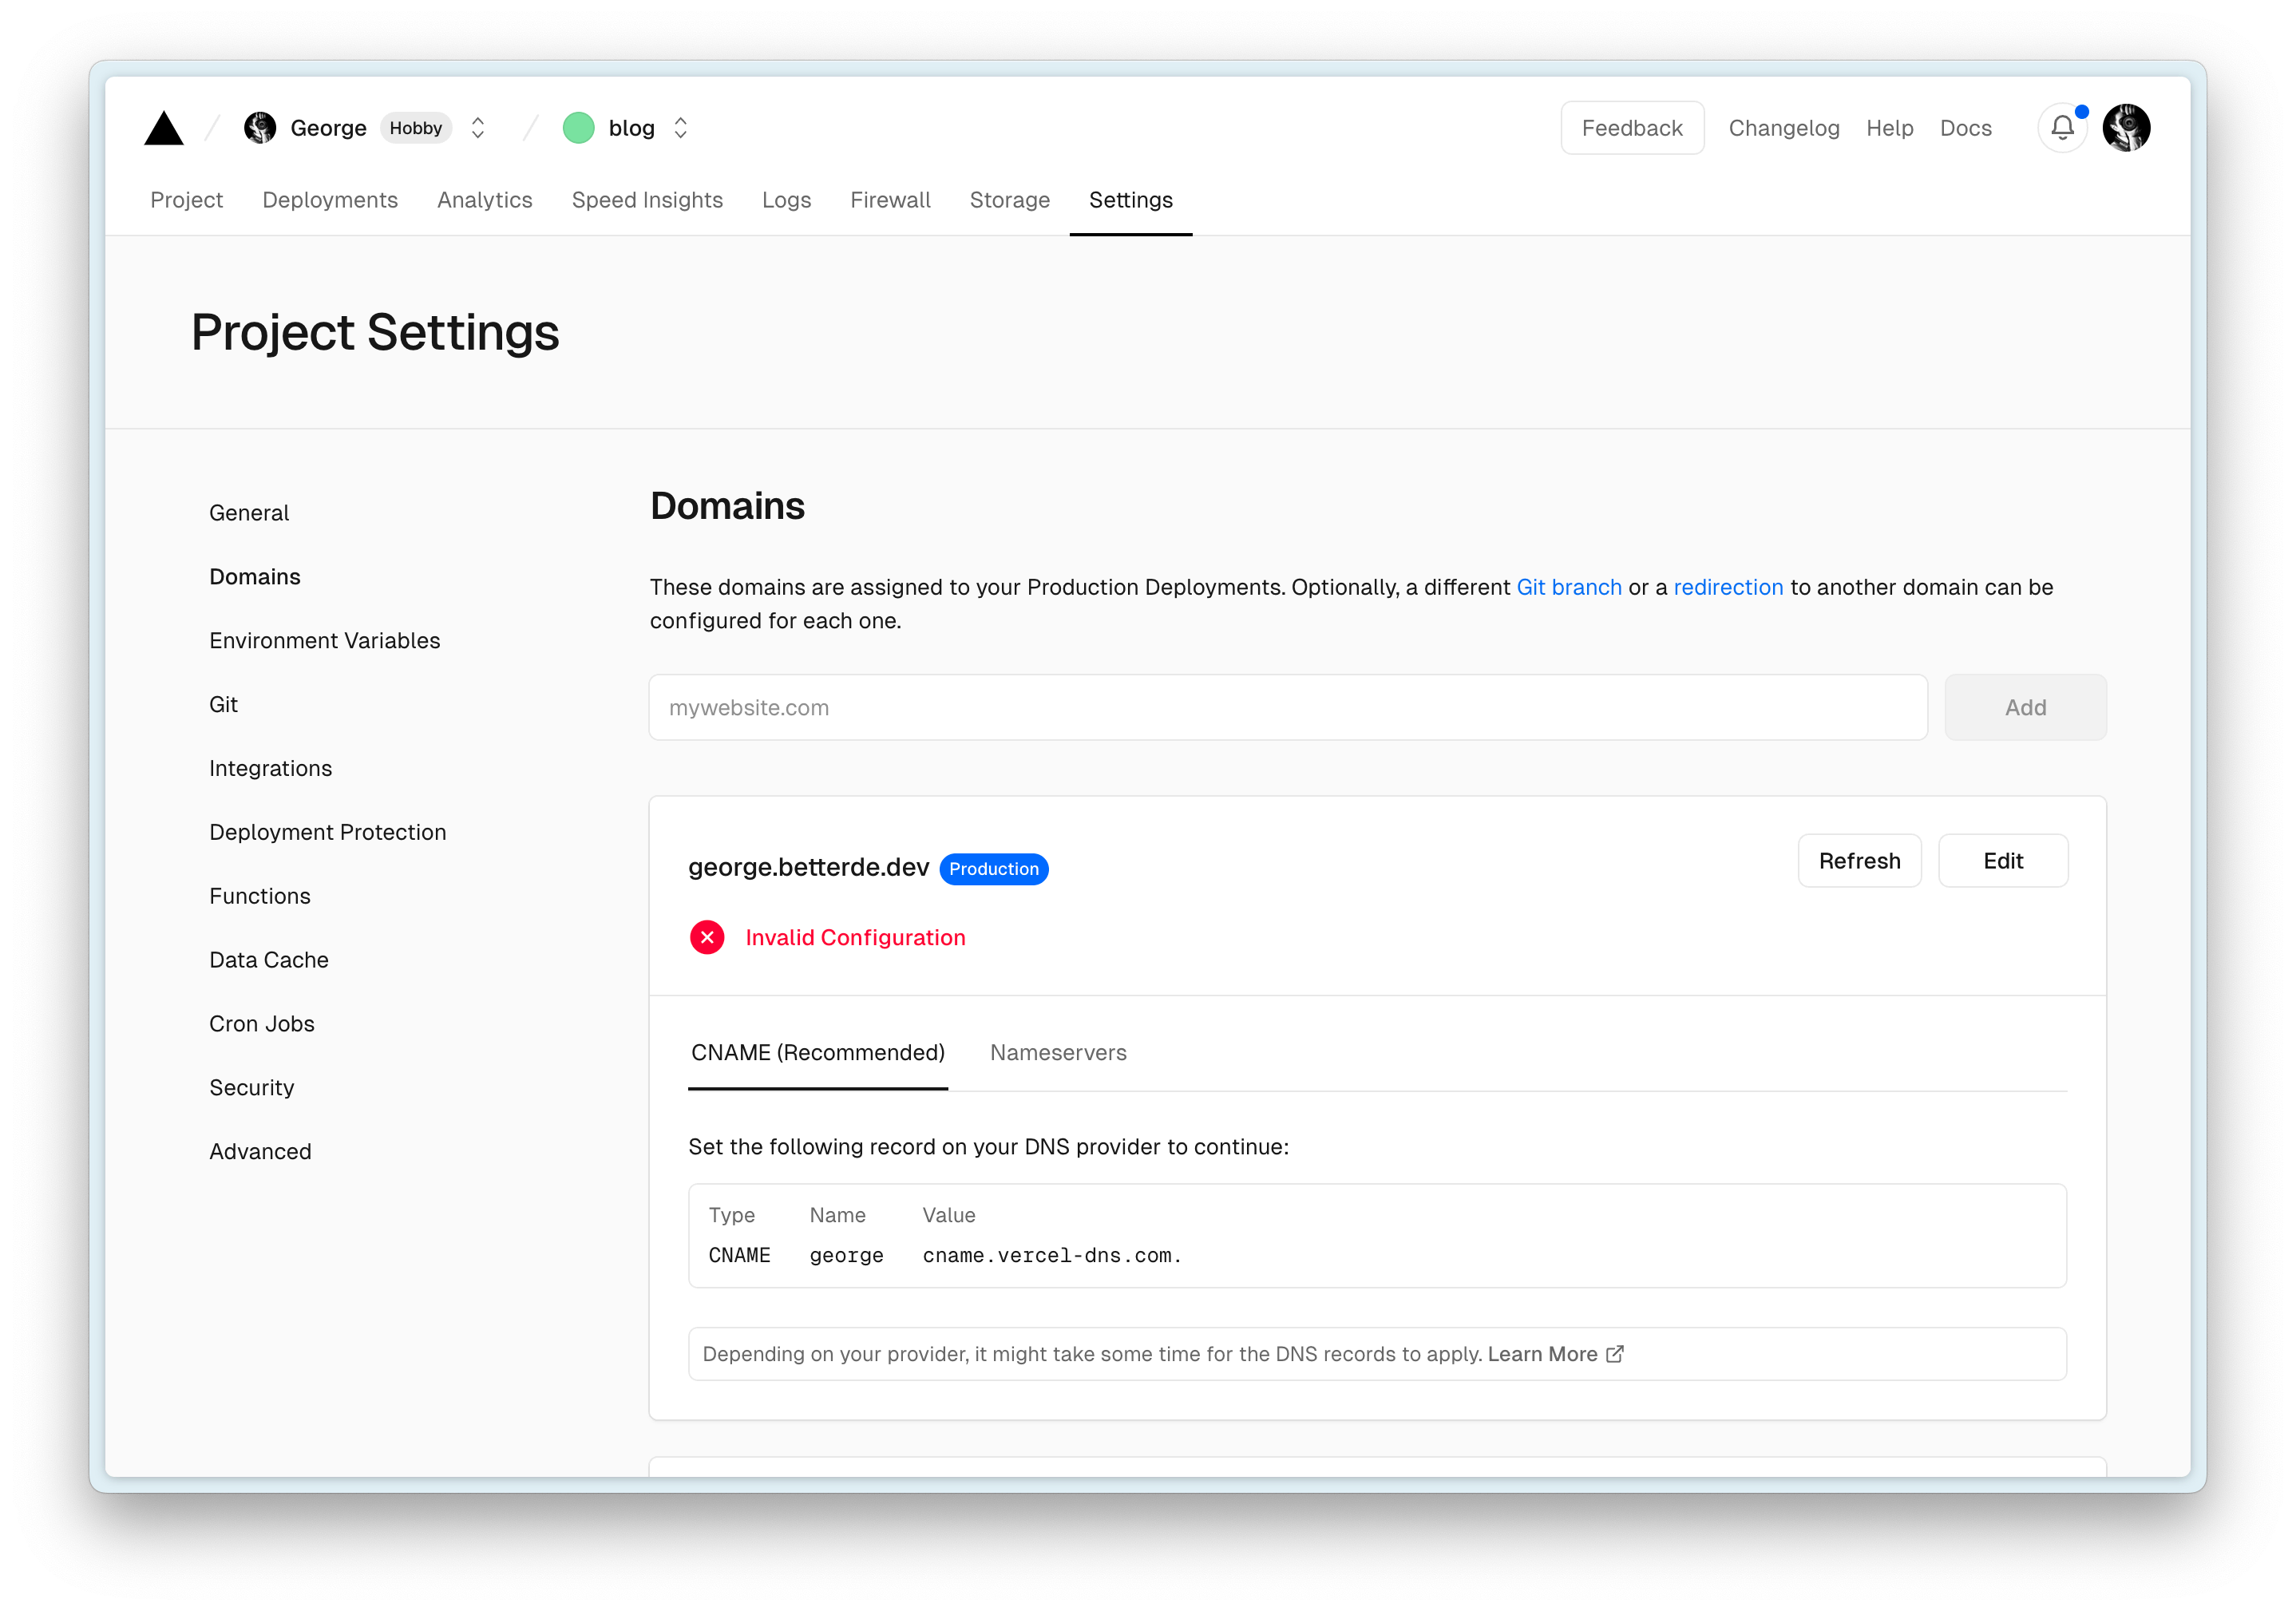
Then go to Cloudflare to add Vercel’s CNAME settings!
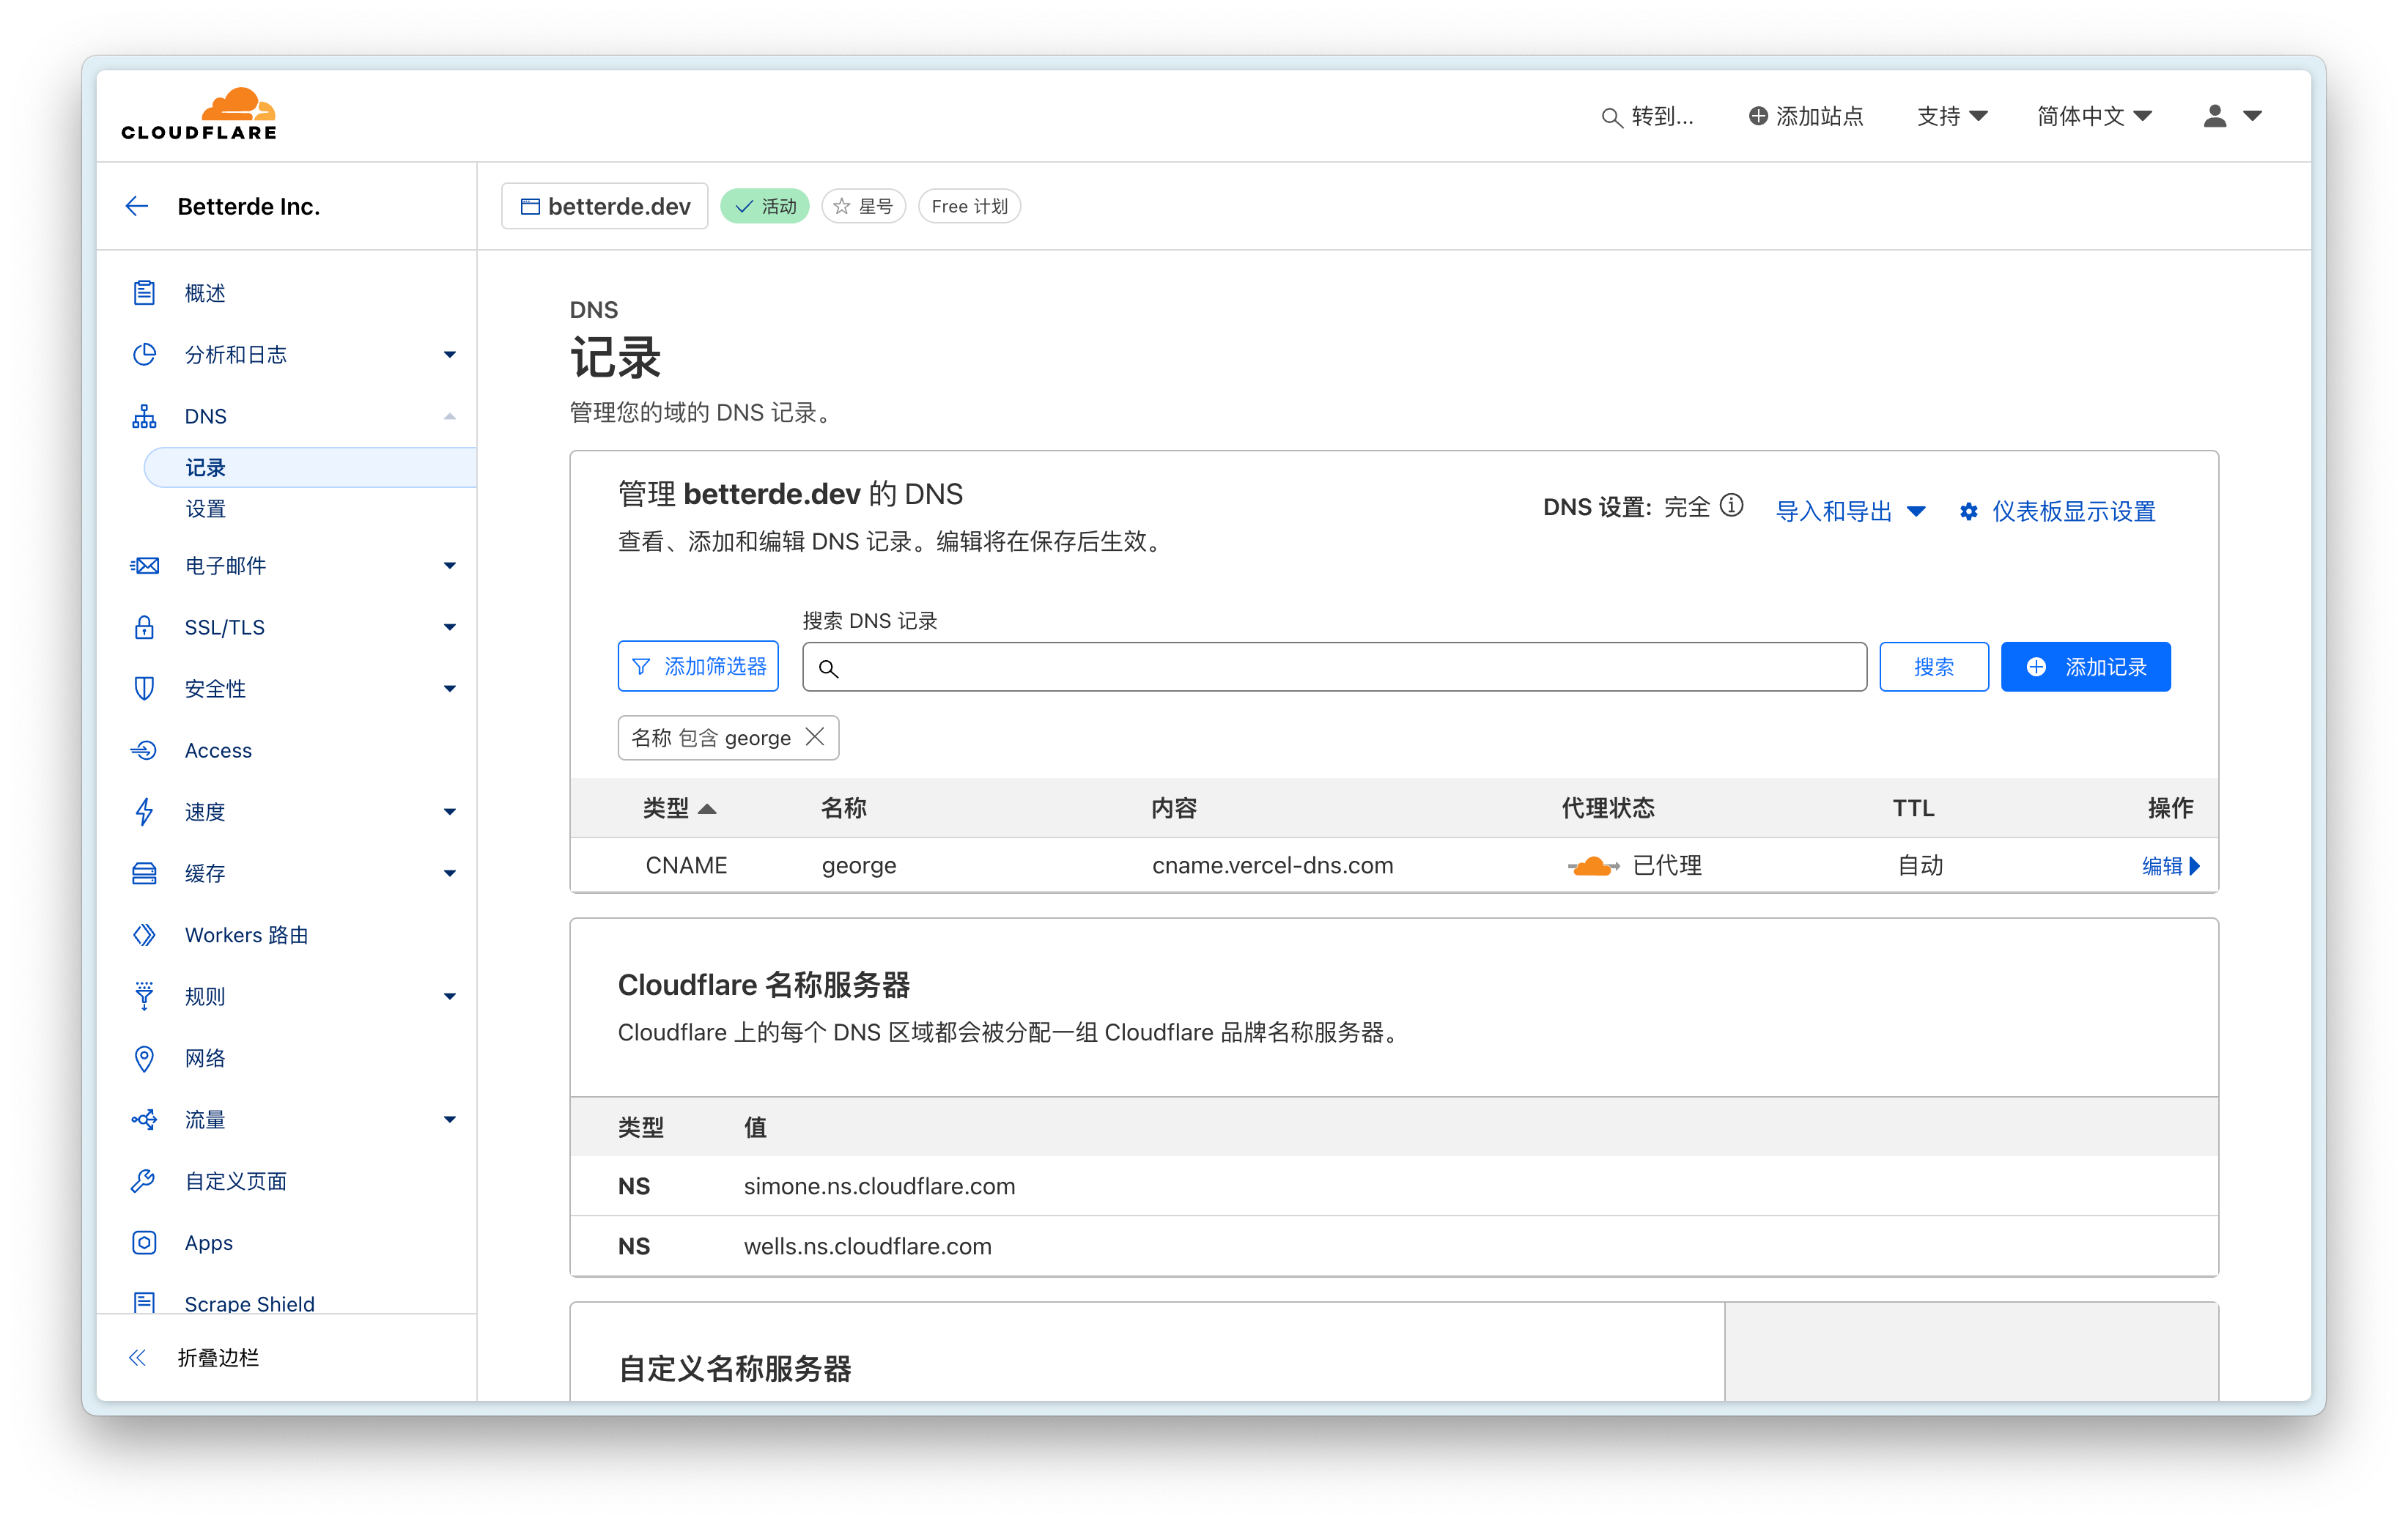
When the proxy status above shows as proxied, it means all requests will go through Cloudflare’s servers, which enables global acceleration!
Issues Encountered⌗
After configuring everything, I found that requests were constantly being redirected with the error code: ERR_TOO_MANY_REDIRECTS. The solution can be found in Cloudflare’s official documentation.
Conclusion⌗
With the above configuration, you can now enjoy Vercel’s web services and Cloudflare’s global CDN acceleration for free…
I hope this is helpful, Happy hacking…