Microservices - Building a Consul Cluster

Introduction⌗
Consul is a Service Mesh solution developed in Golang that provides a fully-featured control plane. It offers service discovery, configuration management, and segmentation capabilities. These features can be used individually as needed or together to build a complete service mesh.
It comes with a built-in simple service proxy, though you can also choose to use other third-party proxies such as Envoy.
Integrated with other Micro Service ecosystem tools developed by HashiCorp, it allows users to implement microservices more easily.
Features⌗
Service Discovery⌗
Consul allows services to register with the data center, such as APIs or MySQL, and other clients can use Consul to discover these services. The built-in DNS makes it easier to find dependent services.
Health Checks⌗
Consul provides health checks for services, allowing administrators to promptly obtain the health status of the cluster. The service discovery component can use this feature to avoid routing traffic to nodes that cannot provide services.
K/V Storage⌗
Consul provides distributed K/V storage functionality, which can be used for dynamic configuration, feature flags, distributed locks, and cluster leader election, among others, and offers an easy-to-use HTTP API.
Secure Service Communication⌗
Consul can issue TLS certificates for services to establish mutual TLS connections.
Multi-Datacenter⌗
Consul supports connections between multiple data centers, making it easy for even large enterprises to build their infrastructure.
Installation⌗
Required Ports⌗
| Port | Description |
|---|---|
| 8600 | DNS Service (TCP&UDP) |
| 8500 | HTTP Service (TCP) |
| 8301 | Serf LAN Port (TCP&UDP) |
| 8302 | Serf WAN Port (TCP&UDP) |
| 8300 | RPC (TCP) |
| 21000~21255 | Automatically assigned ports for service sidecar proxies |
Considering the experimental environment, I’ll deploy the Consul cluster using Docker. If you plan to deploy on multiple nodes, the configuration and commands are similar, except you may not need to create a Network.
Docker Step by Step⌗
Create a network environment
$ docker network create betterde --subnet 10.0.0.0/28 --gateway 10.0.0.14
Create ACL configuration file
$ mkdir -p /etc/consul/conf.d
$ touch /etc/consul/conf.d/server.json
Write the following configuration to /etc/consul/conf.d/server.json. Here, acl.tokens.master is the credential for access, which you can replace with your own token.
{
  "acl": {
    "enabled": true,
    "default_policy": "deny",
    "down_policy": "extend-cache",
    "tokens": {
      "master": "508hFauW5uEc11SegVpK0fQlBhDEBiLZSpOCG+2gbeM"
    }
  }
}
Get the latest image
$ docker pull consul:latest
Run Consul nodes
$ docker run -d \
  -h consul-1 \
  --name consul-1 \
  --net=betterde --ip 10.0.0.1 \
  -v /etc/consul/conf.d:/etc/consul/conf.d
  consul agent -server -node=10.0.0.1 -datacenter=betterde -bind=10.0.0.1 \
  -ui -client=0.0.0.0 -bootstrap-expect=3 -config-dir=/etc/consul/conf.d

$ docker run -d \
  -h consul-salver-1 \
  --name consul-salver-1 \
  --net=betterde --ip 10.0.0.2 \
  -v /etc/consul/conf.d:/etc/consul/conf.d
  consul agent -server -node=10.0.0.2 -datacenter=betterde -bind=10.0.0.2 \
  -ui -join=10.0.0.1 -retry-join=10.0.0.1 -bootstrap-expect=3 -config-dir=/etc/consul/conf.d

$ docker run -d \
  -h consul-salver-2 \
  --name consul-salver-2 \
  --net=betterde --ip 10.0.0.3 \
  -v /etc/consul/conf.d:/etc/consul/conf.d
  consul agent -server -node=10.0.0.3 -datacenter=betterde -bind=10.0.0.3 \
  -ui -join=10.0.0.1 -retry-join=10.0.0.1 -bootstrap-expect=3 -config-dir=/etc/consul/conf.d
Note that to avoid split-brain issues, the
-bootstrap-expect=3parameter must be consistent.
Create the /var/local/web/nginx.conf configuration file
user  nginx;
worker_processes  2;

error_log  /var/log/nginx/error.log warn;
pid        /var/run/nginx.pid;


events {
    worker_connections  102400;
}


http {
    include       /etc/nginx/mime.types;
    default_type  application/octet-stream;

    log_format  main  '$remote_addr - $remote_user [$time_local] "$request" '
                      '$status $body_bytes_sent "$http_referer" '
                      '"$http_user_agent" "$http_x_forwarded_for"';

    access_log  /var/log/nginx/access.log  main;

    sendfile        on;
    #tcp_nopush     on;

    keepalive_timeout  65;

    #gzip  on;

    upstream consul {
        server consul-4:8500;
    }

    server {
        listen 80 default_server;
        server_name  _;

        access_log  /web/logs/consul/access.log;
        error_log  /web/logs/consul/error.log;
        root   html;

        location / {
            proxy_pass  http://consul;
            proxy_redirect     off;
            proxy_set_header   Host             $host;
            proxy_set_header   X-Real-IP        $remote_addr;
            proxy_set_header   X-Forwarded-For  $proxy_add_x_forwarded_for;
            proxy_next_upstream error timeout invalid_header http_500 http_502 http_503 http_504;
            proxy_max_temp_file_size 0;
            proxy_connect_timeout      90;
            proxy_send_timeout         90;
            proxy_read_timeout         90;
            proxy_buffer_size          4k;
            proxy_buffers              4 32k;
            proxy_busy_buffers_size    64k;
            proxy_temp_file_write_size 64k;
       }
    }
}
Create directory
$ mkdir -p /var/local/web/logs/consul
Run Nginx container
$ docker run -p 80:80 --name nginx --hostname nginx \
  --net betterde --ip 10.0.0.253 \
  -v /var/local/web/nginx.conf:/etc/nginx/nginx.conf:ro \
  -v /var/local/web/logs:/web/logs -d nginx:latest
Docker Compose⌗
I’ve also provided a repository that uses Docker Compose to start the cluster.
Startup method:
$ git clone [email protected]:betterde/architecture.git
$ cd architecture/consul
$ docker-compose up -d
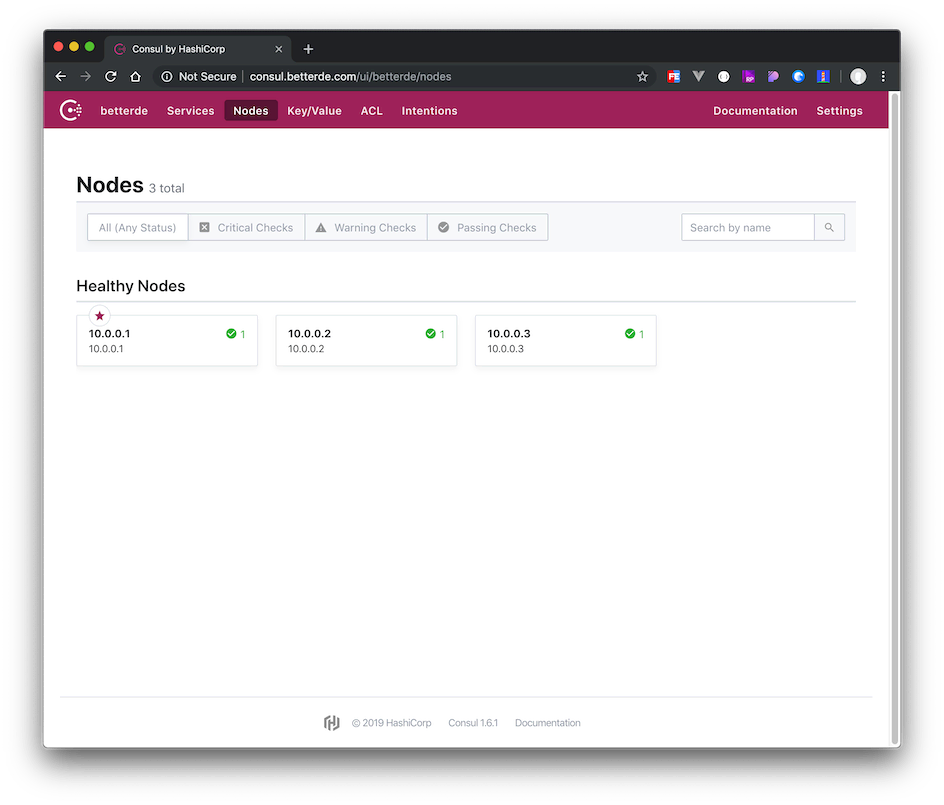
If all goes well, you should now be able to access the Consul Web UI at http://consul.betterde.com (replace with your own domain name in the configuration file).
Because ACL is enabled, for the first access, you need to click on ACL and enter the
acl.tokens.masterfromserver.jsonfor verification, then refresh the browser to access the data normally.
I will publish more articles introducing how to use Consul in different scenarios. Stay tuned!
I hope this is helpful, Happy hacking…