Laravel Tinker 的高级用法

背景⌗
在工作中,因为业务的调整,数据结构和模型经常需要改动。一开始是创建 Command 来解决类似的需求,但是到后面发现 Commands 越来越多,且都是只用一次的逻辑。
于是我想到了直接在服务器上的 Laravel Tinker 中执行数据结构调整的逻辑。
基本使用⌗
$ php artisan tinker
这样就能进入 Tinker Shell,我们可以在里面执行一些 Laravel 框架内的代码。但是它是一个 REPL——交互式解释器,正常情况下我们只能执行一行命令。比如:
>>> use Illuminate\Support\Str;
>>> Str::random(32);
=> "WAjGwmSqXqzQ6ZWerUR6GRvNGW4wWjPA"
>>>
配置⌗
在上面和 Tinker 的交互中,我们看到,要使用一些 Class 的话,我们必须输入完整的类命名空间,对于习惯了 PHPStorm 的我来说,这简直令人抓狂。以前我都是在 PHP Storm 中先写好代码,然后再粘贴进来。
后来我发现 Tinker 是有配置文件的,不过默认没有包含在项目中,我们需要使用如下命令将配置文件发布到项目的配置文件目录下:
$ php artisan vendor:publish --provider='Laravel\Tinker\TinkerServiceProvider'
得到的 config/tinker.php 文件内容如下:
<?php

return [

    /*
    |--------------------------------------------------------------------------
    | Console Commands
    |--------------------------------------------------------------------------
    |
    | This option allows you to add additional Artisan commands that should
    | be available within the Tinker environment. Once the command is in
    | this array you may execute the command in Tinker using its name.
    |
    */

    'commands' => [
        // App\Console\Commands\ExampleCommand::class,
    ],

    /*
    |--------------------------------------------------------------------------
    | Auto Aliased Classes
    |--------------------------------------------------------------------------
    |
    | Tinker will not automatically alias classes in your vendor namespaces
    | but you may explicitly allow a subset of classes to get aliased by
    | adding the names of each of those classes to the following list.
    |
    */

    'alias' => [
        'Str' => 'Illuminate\\Support\\Str'
    ],

    /*
    |--------------------------------------------------------------------------
    | Classes That Should Not Be Aliased
    |--------------------------------------------------------------------------
    |
    | Typically, Tinker automatically aliases classes as you require them in
    | Tinker. However, you may wish to never alias certain classes, which
    | you may accomplish by listing the classes in the following array.
    |
    */

    'dont_alias' => [
        'App\Nova',
    ],

];
我们将将从用到的类可以在 alias 中设置别名,这样在 Tinker 中就可以直接使用 Str 了。
$ php artisan tinker

Psy Shell v0.11.2 (PHP 8.1.4 — cli) by Justin Hileman
>>> Str::random();
[!] Aliasing 'Str' to 'Illuminate\Support\Str' for this Tinker session.
=> "gHiy1WFn64IuKf7j"
>>>
可以看到 Tinker 会提示 Aliasing 'Str' to 'Illuminate\Support\Str' for this Tinker session.。
编辑模式⌗
可以看到在执行单行代码时时比较方便的,但是在执行多行代码时就比较麻烦了。
这时候就可以使用 edit 命令开启编辑器模式,然后可以启动系统自带的编辑器了,可能是 vi 也可能是 nano。
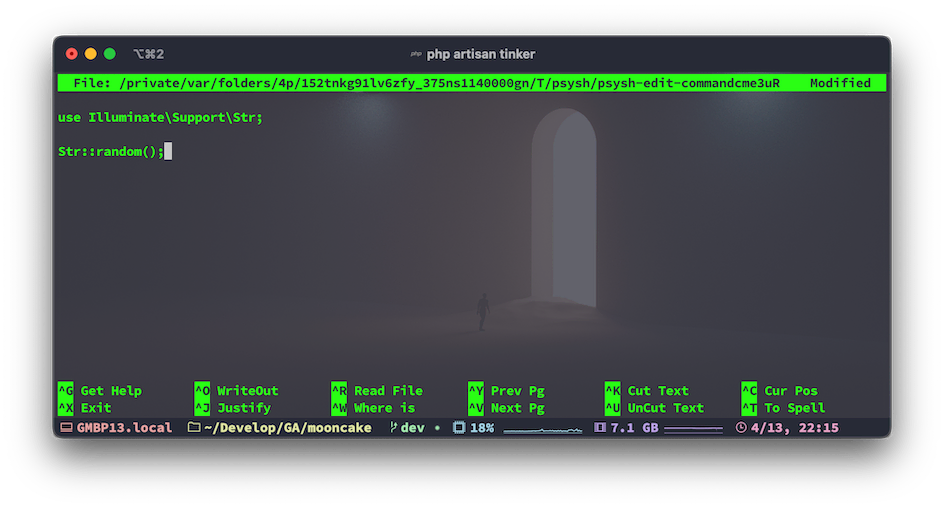
这种方式虽然可以很好的解决我们要执行多行代码的问题,但是新的问题又来了,每次都要在 PHPStorm 中先写好代码再贴进去,也挺不舒服的。
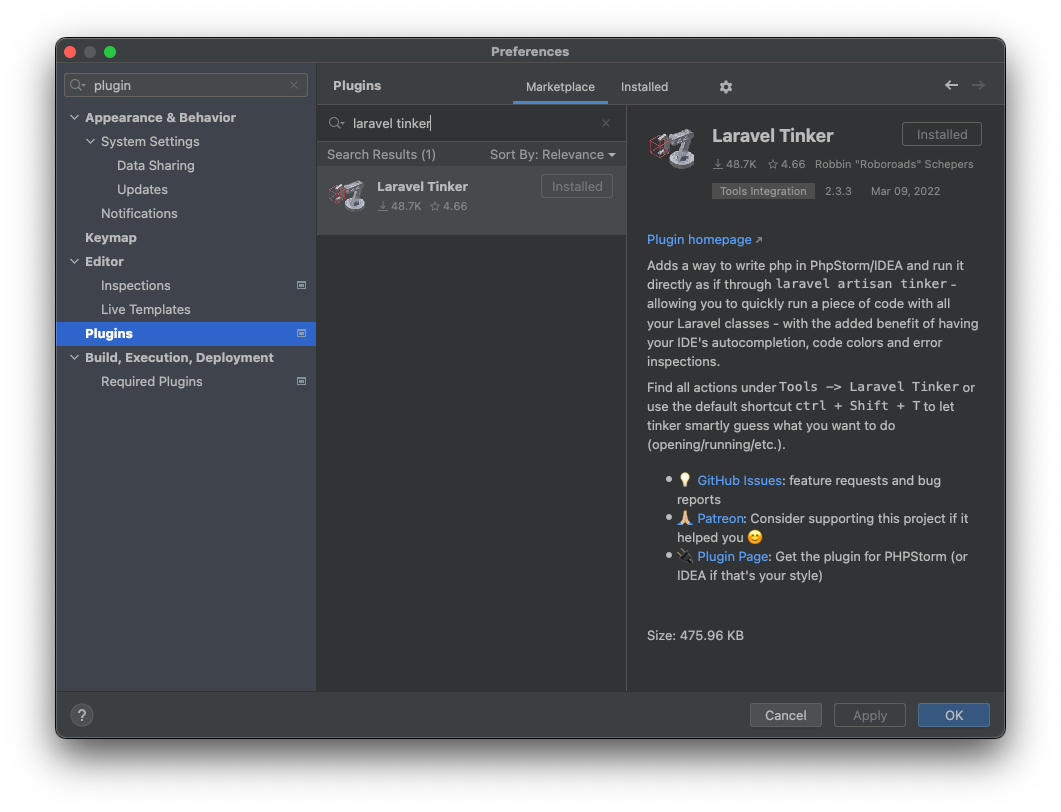
IDE 插件⌗
于是乎我搜了一下 PHPStorm Plugins Store,发现还真有 Laravel Tinker 这个插件。
安装完成后,需要设置项目的根目录,如下:
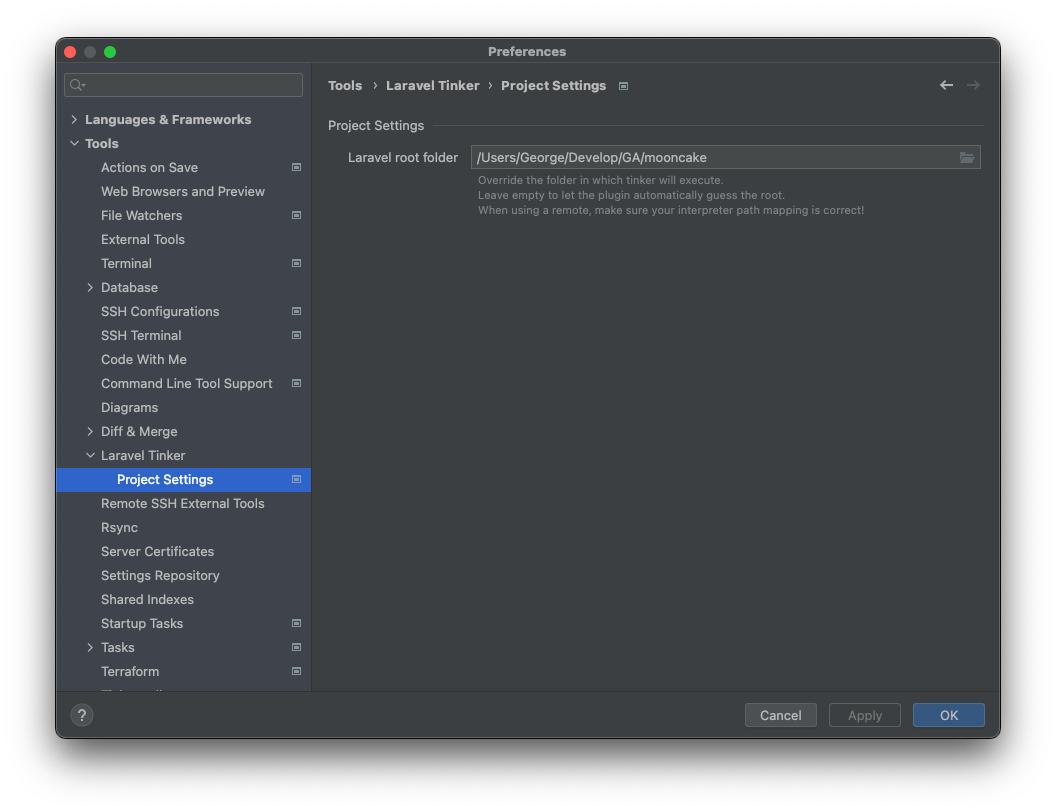
然后就可以愉快的在这个插件中执行代码了,并且支持代码的自动补全。
其他解决方案⌗
Tinkerwell⌗
用上了插件后我发现了另一个问题,就是每次需要在插件里写,然后再粘贴到线上服务器的 Tinker 中执行,这也不够优雅。
通过一番寻找,在网上搜到了 Tinkerwell,这个 GUI 工具支持远程项目直接执行编辑器中的代码,而且支持创建代码片段,这样可以多次使用。
不得不说 UI 非常棒,但是有两个致命问题:
- $29.9/年 的价格,这个劝退了不少人;
- 暂不支持 Docker 容器内的 PHP 环境,目前的解决方案是在容器内起一个 SSH Server 的守护进程。
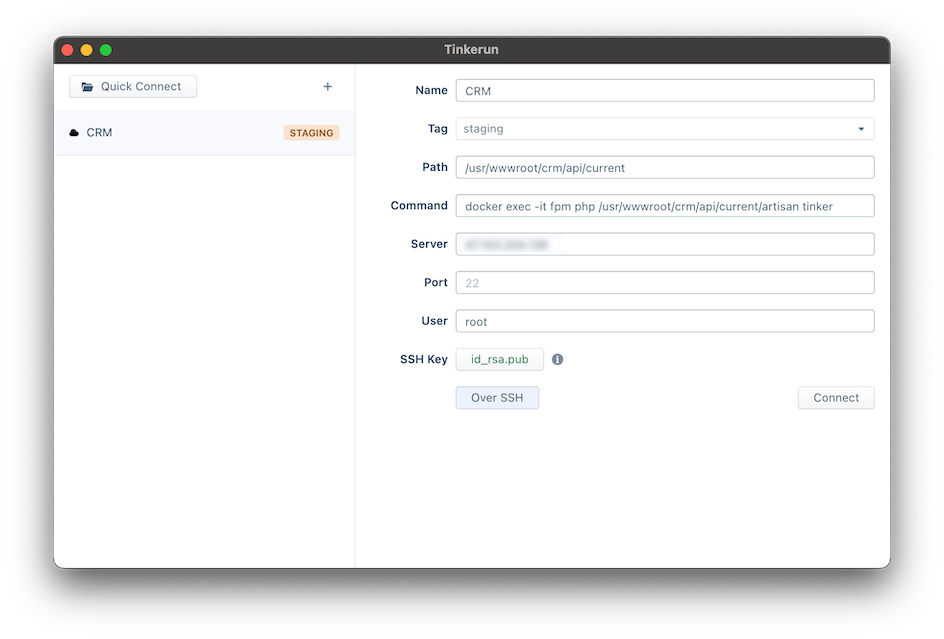
Tinkerun⌗
Tinkerun 是一个开源的项目,功能上与商业版的 Tinkerwell 差不多,但是实现原理似乎不一样。
据作者本人说 Tinkerun 采用的是 node-pty 模拟执行 php artisan tinker 然后使用 xterm.js 将编辑好的代码发送到远端 Tinker 上去执行。好处是可以支持 Docker 容器内的 PHP 环境。
设置页非常简单,主要是 Command 配置项:
I hope this is helpful, Happy hacking…